User Management
Edit User Account
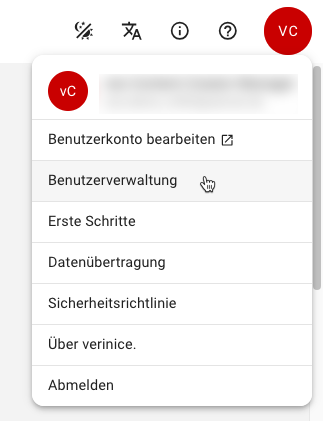
Click the account button to edit your user account:
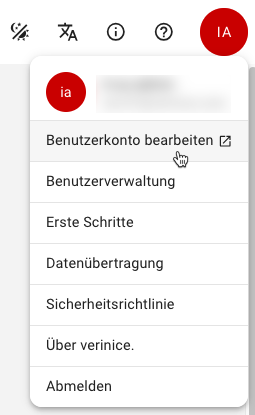
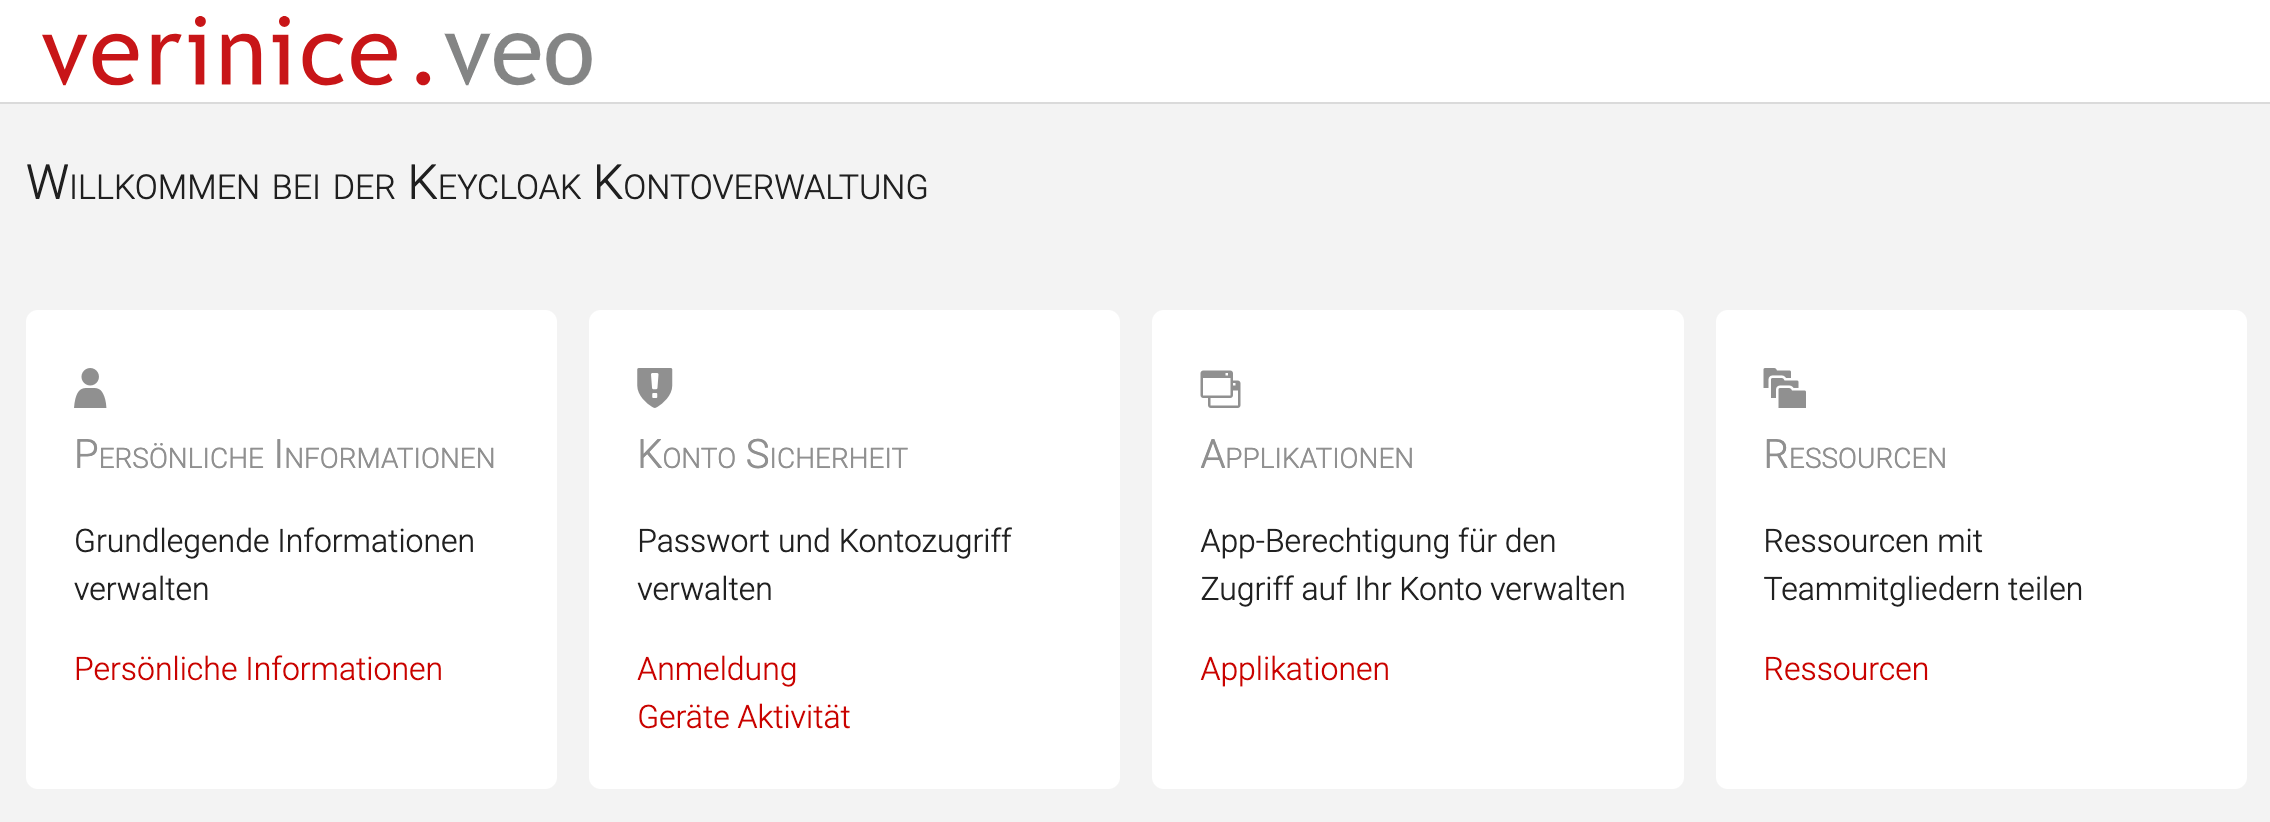
verinice uses a Keycloak instance for identity and access management, which opens in a new browser tab:
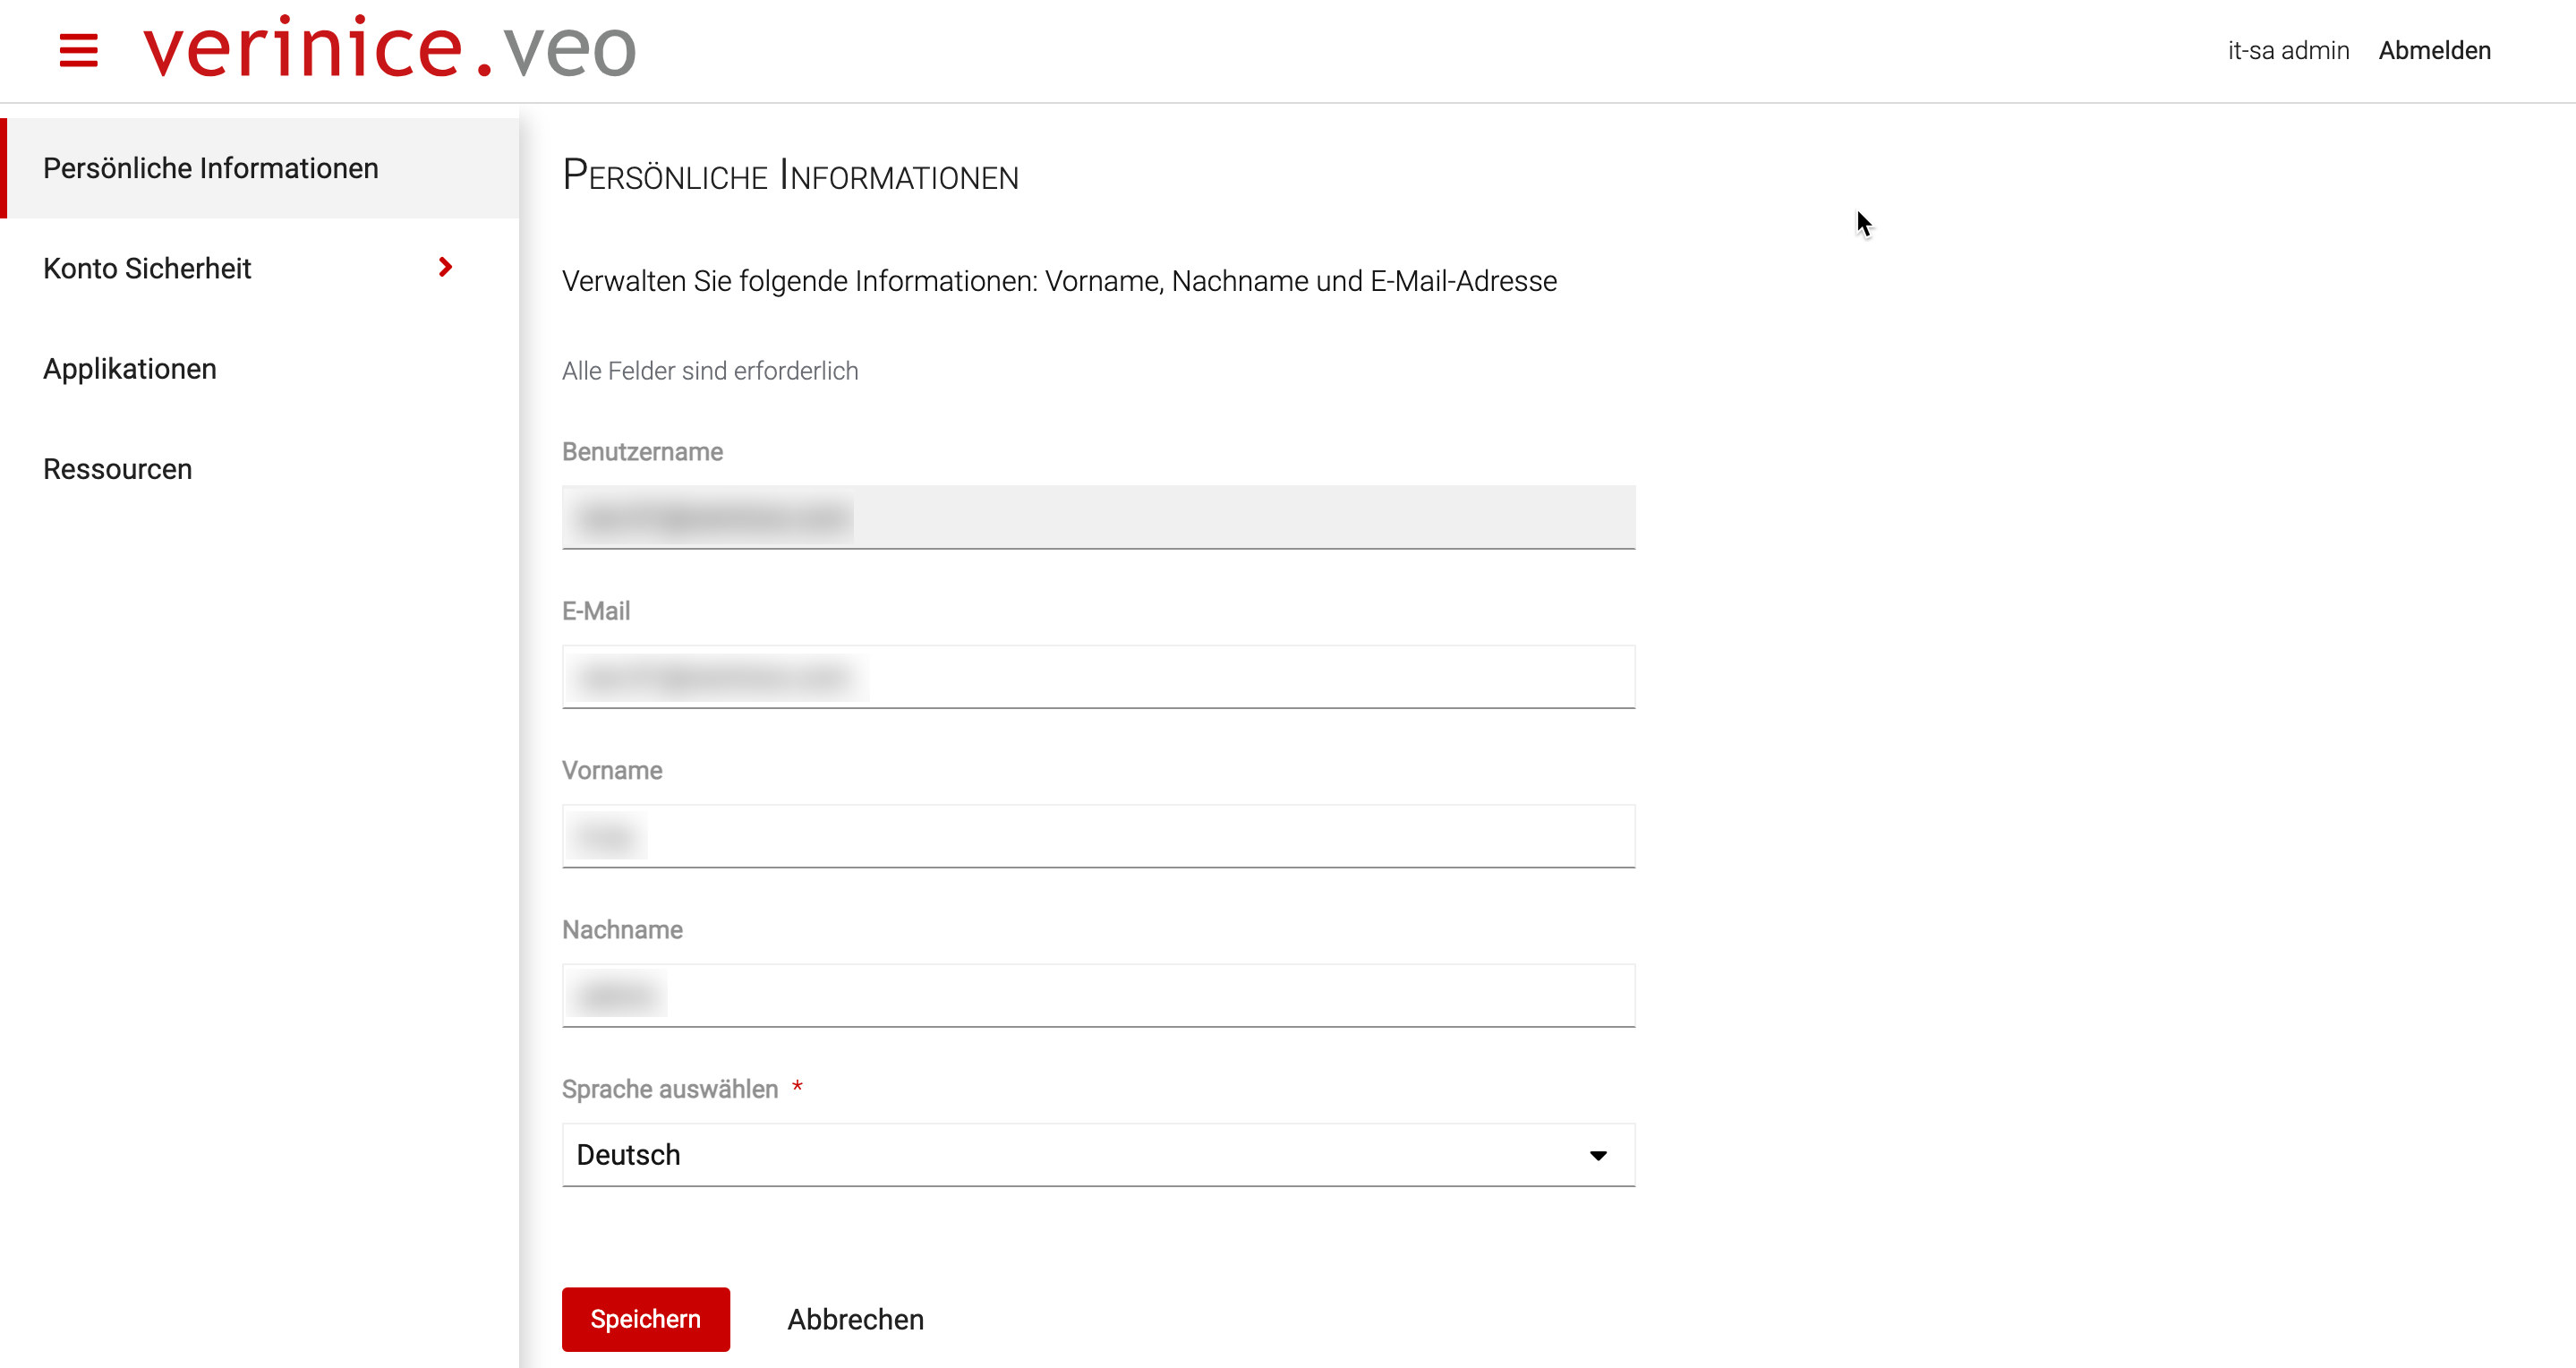
Personal Information
In the Personal Information section, you can change your name or email address. After changing your email, you will receive a verification email asking you to set a new password.
Authentication Method
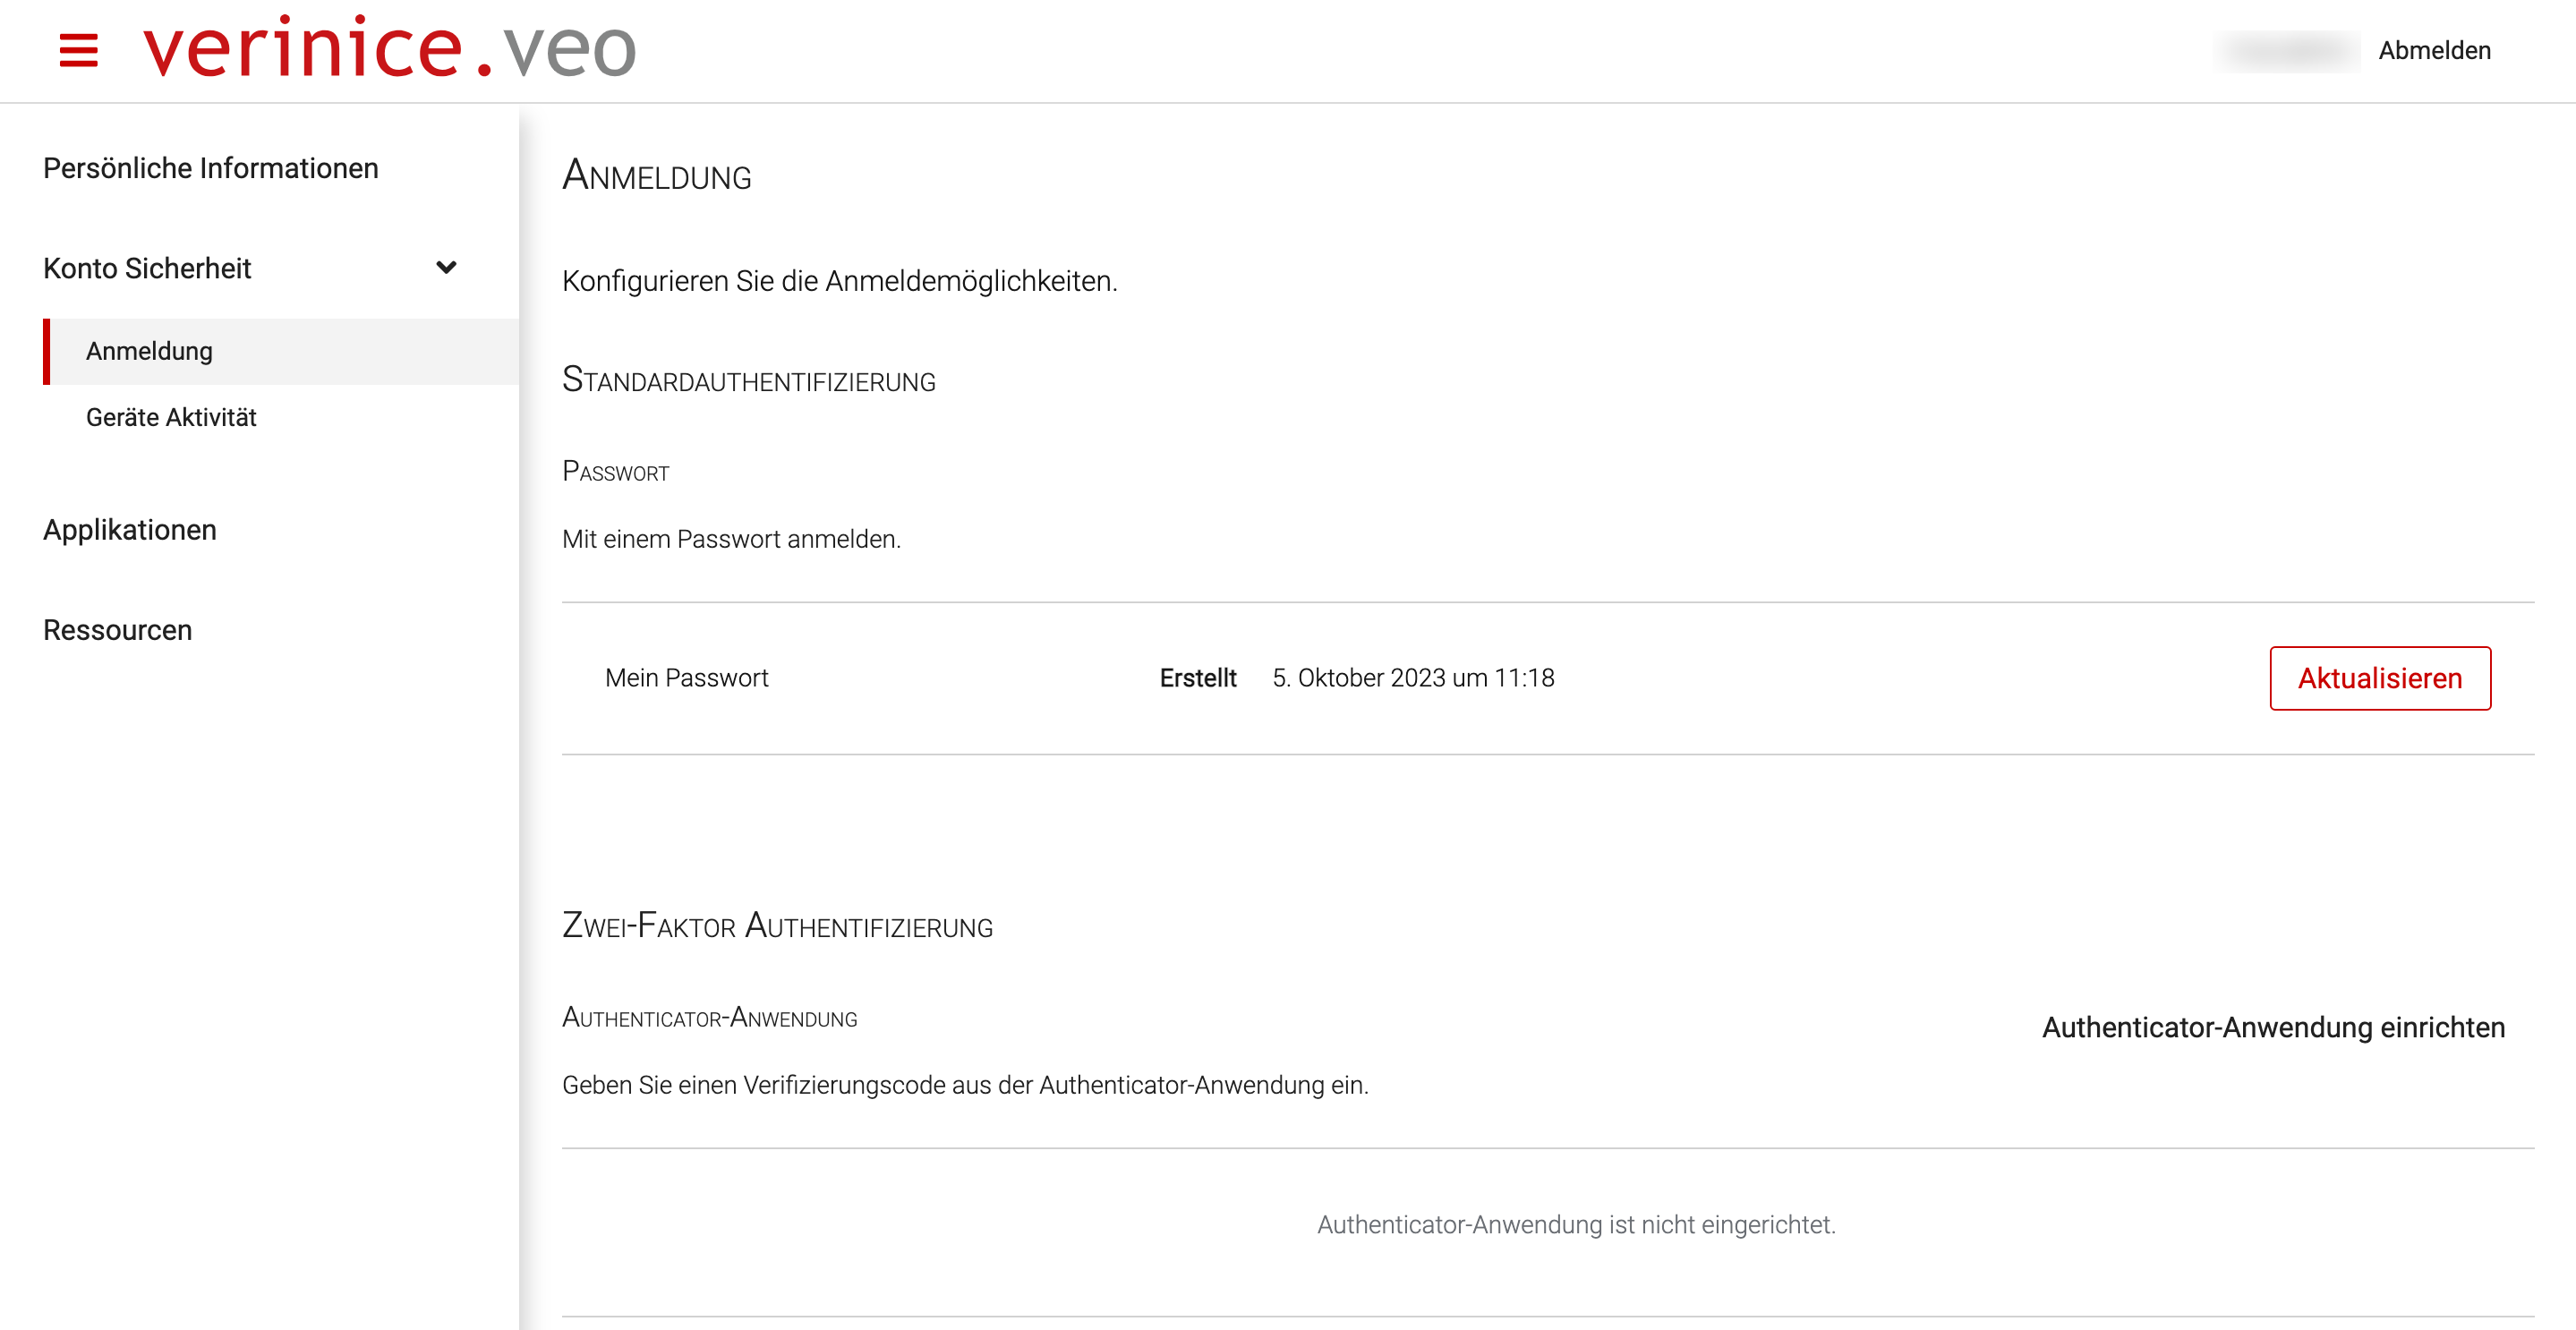
In the Account Security > Login section, you can choose between standard password authentication or two-factor authentication and configure it:
Device Activity
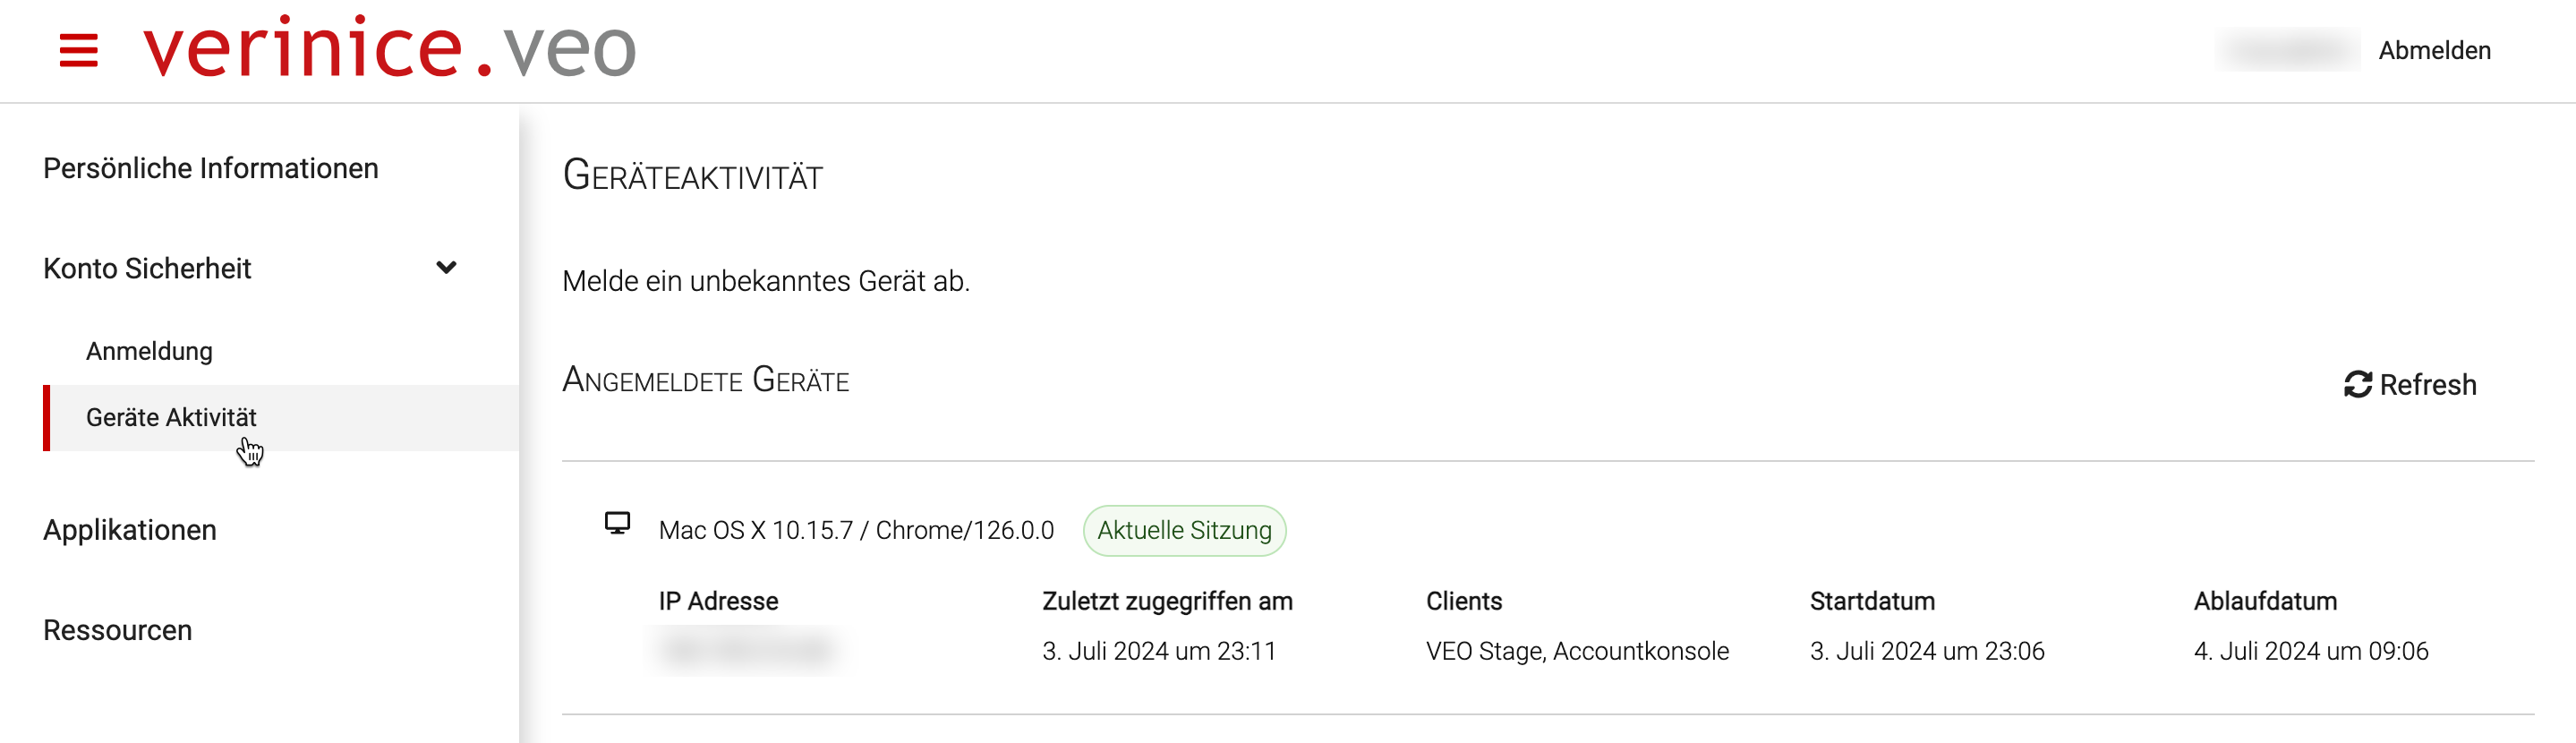
In Account Security > Device Activity, you can view logged-in devices and log out any unfamiliar devices:
Manage Applications
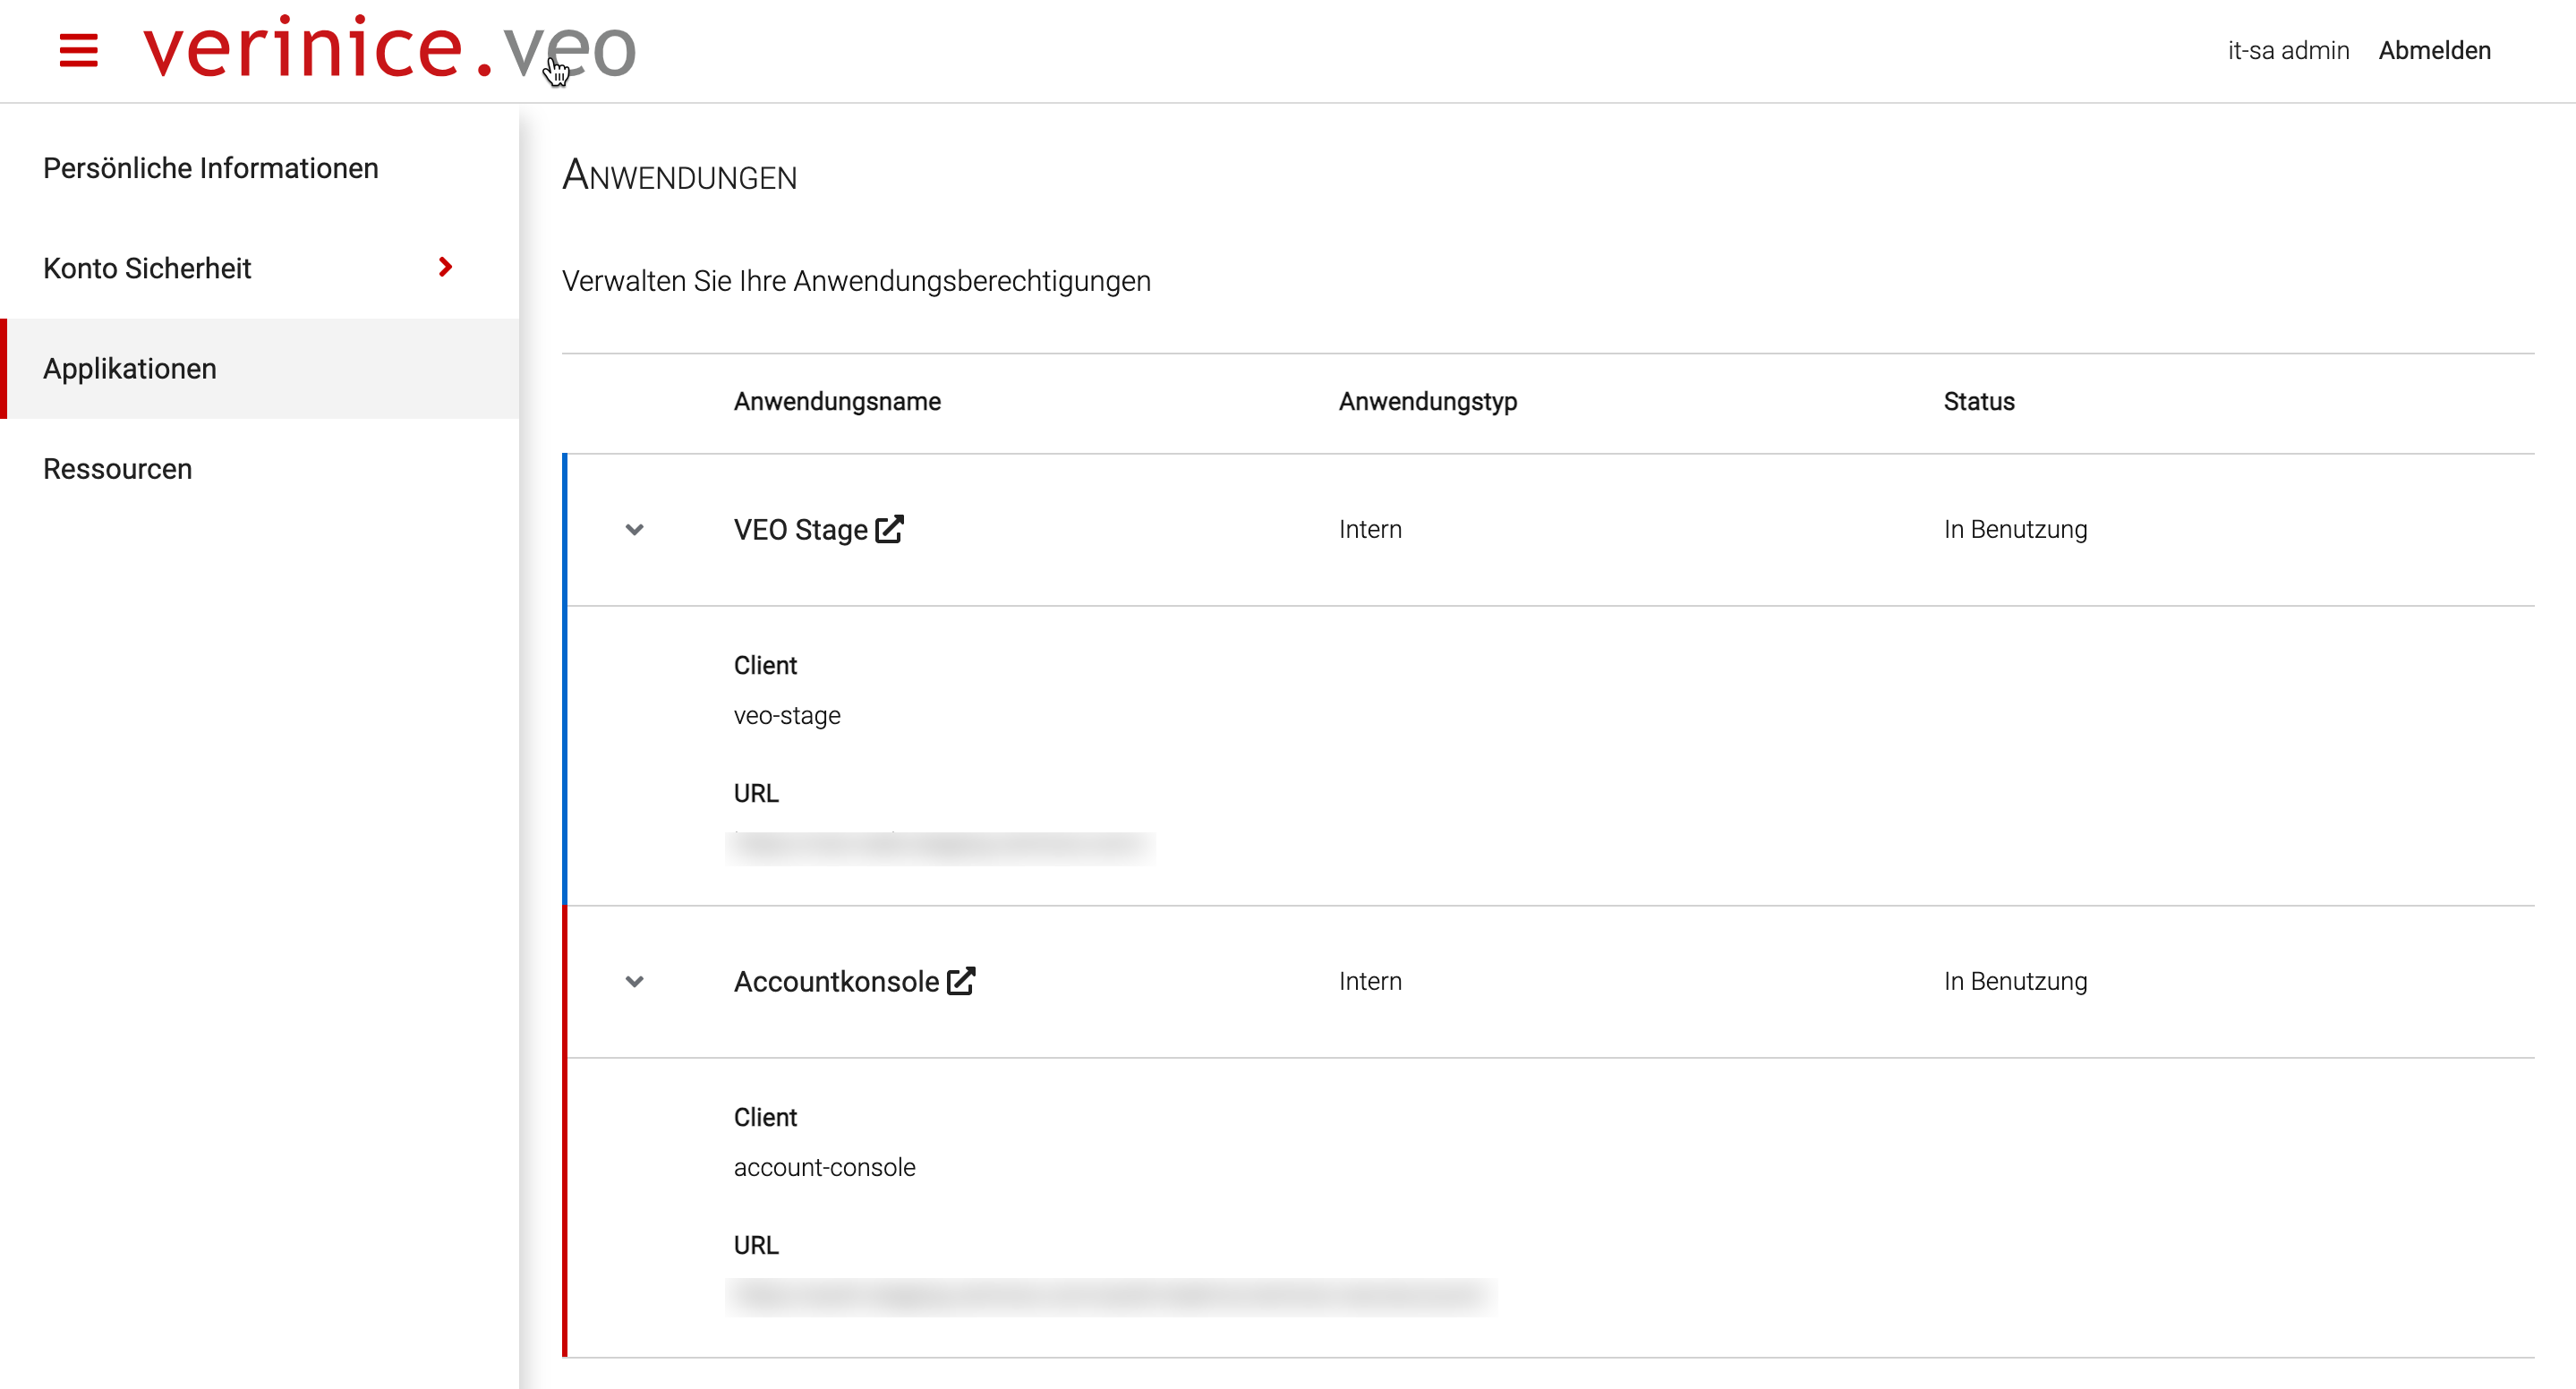
In the Applications section, you can see which clients/applications are connected to your verinice account. Since the number of connected applications is limited, you may be automatically logged out, for example, when opening verinice in multiple browsers simultaneously.
Resources
INFO
Additional functions such as resource sharing are currently not supported!
User Management
Why is the user management not available to me?
To add or manage additional users, the following conditions must be met:
- Your subscription plan must include additional users.
- You must have the Main User role, which is assigned during the purchasing process.
Access the user management via the account button:
The following overview shows all users in your client along with additional details:
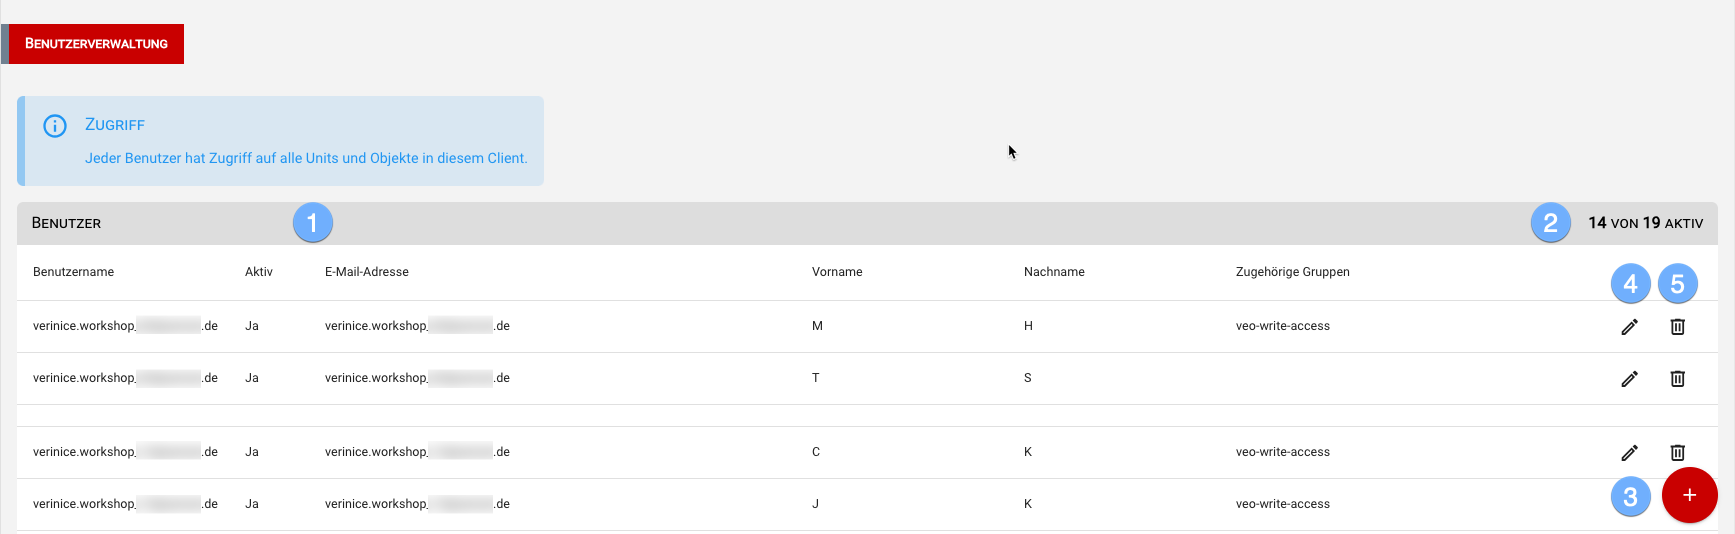
- All users have access to all units in your client.
- The interface displays active and available user slots. Note that the Main User already reduces the available user count by one.
- You can create new users,
- edit existing users, or
- delete existing users.
When creating a user, enter the required information:
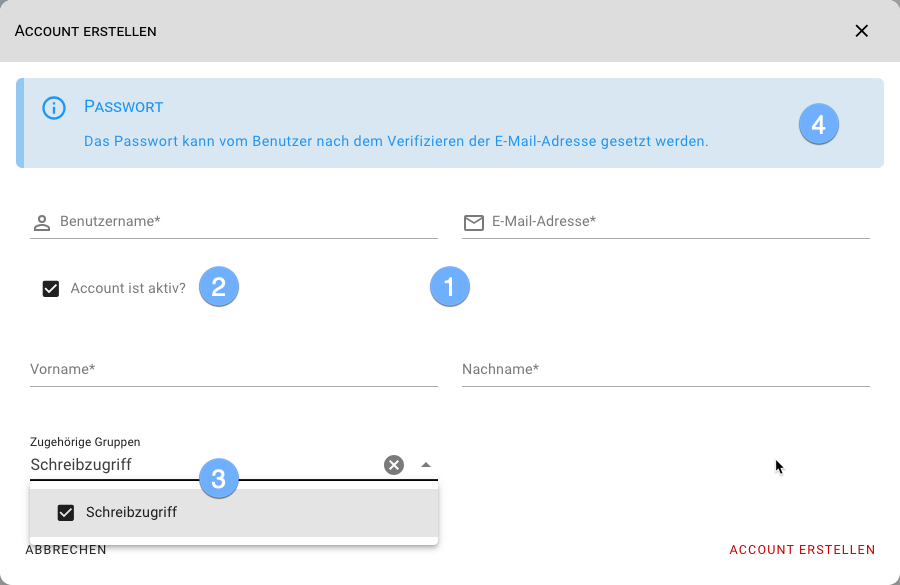
- Username, email, first name, last name.
- Activate or deactivate the user.
- By default, all users have write access. To restrict to read-only access, disable the write permission.
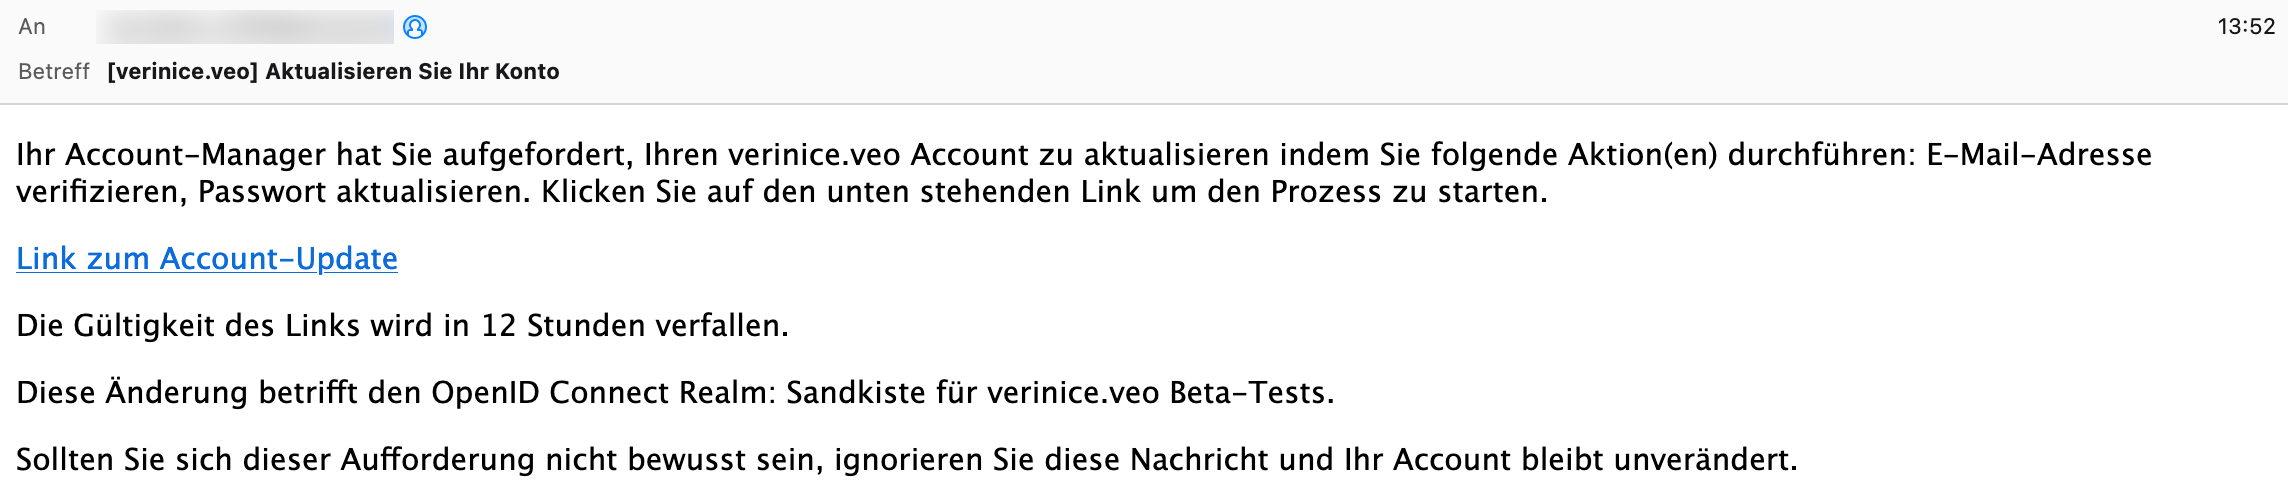
- After creation, an email will be sent to the user to verify their email address. The user must set a secure password via the provided link before logging in to verinice:
INFO
We recommend notifying new users in advance about the creation of their verinice account.
Read and write permissions for units
Read and write permissions for users and units can be assigned via access groups. These can be found under Account Management as Main User.
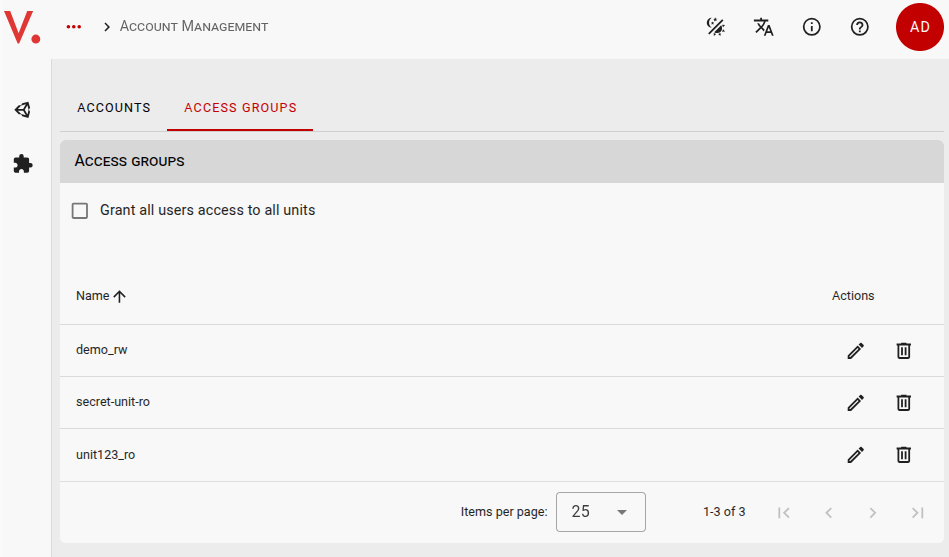
To activate read and write permissions, Grant all users access to all units must be deselected. You can then
- create new access groups or
- edit or delete existing access groups.
When editing access groups, read and write permissions can be set for each individual unit.
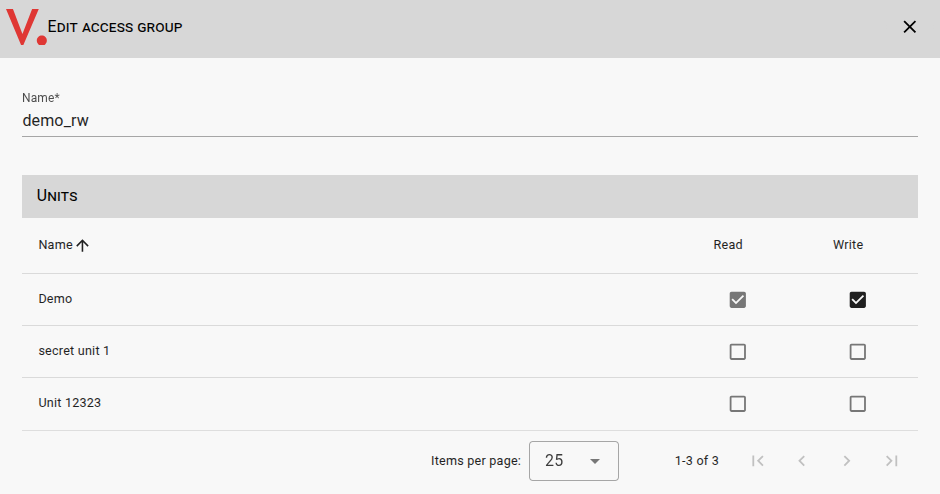
Once you have defined the access groups, you can update the accounts with the permissions under Users. You can assign roles and access groups to each individual account.
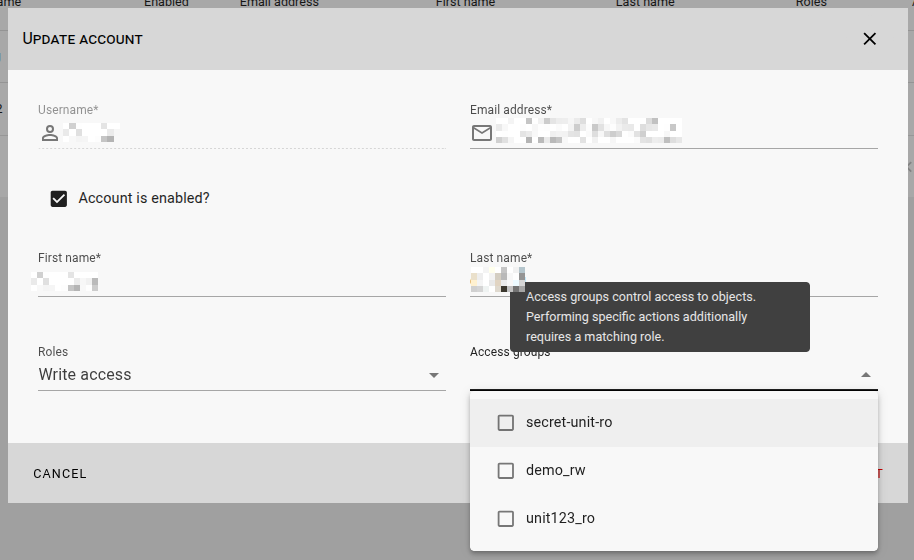
Roles determine which actions are permitted. Membership in an appropriate access group is also required to access objects.
Access groups control access to specific objects. An appropriate role is also required to perform specific actions.
License control
Users of verinice.onprem store a license file in their local instance. This file specifies the maximum number of accounts, units, clients, and the use of licensed content, such as official texts from standards.
If actual usage exceeds the limits specified in the license file, all users will have their write permissions revoked until the license conditions are met again. This can be achieved by increasing the license or reducing usage.
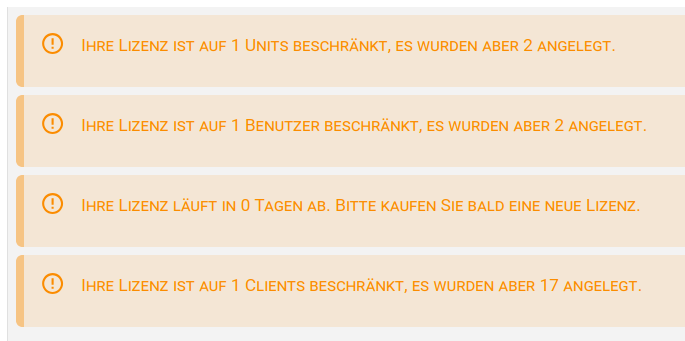
The license violation status is displayed as a warning in the user interface. Users must inform their main user, administrator, or purchaser to resolve this situation.