
Risk Management
Risk Definition
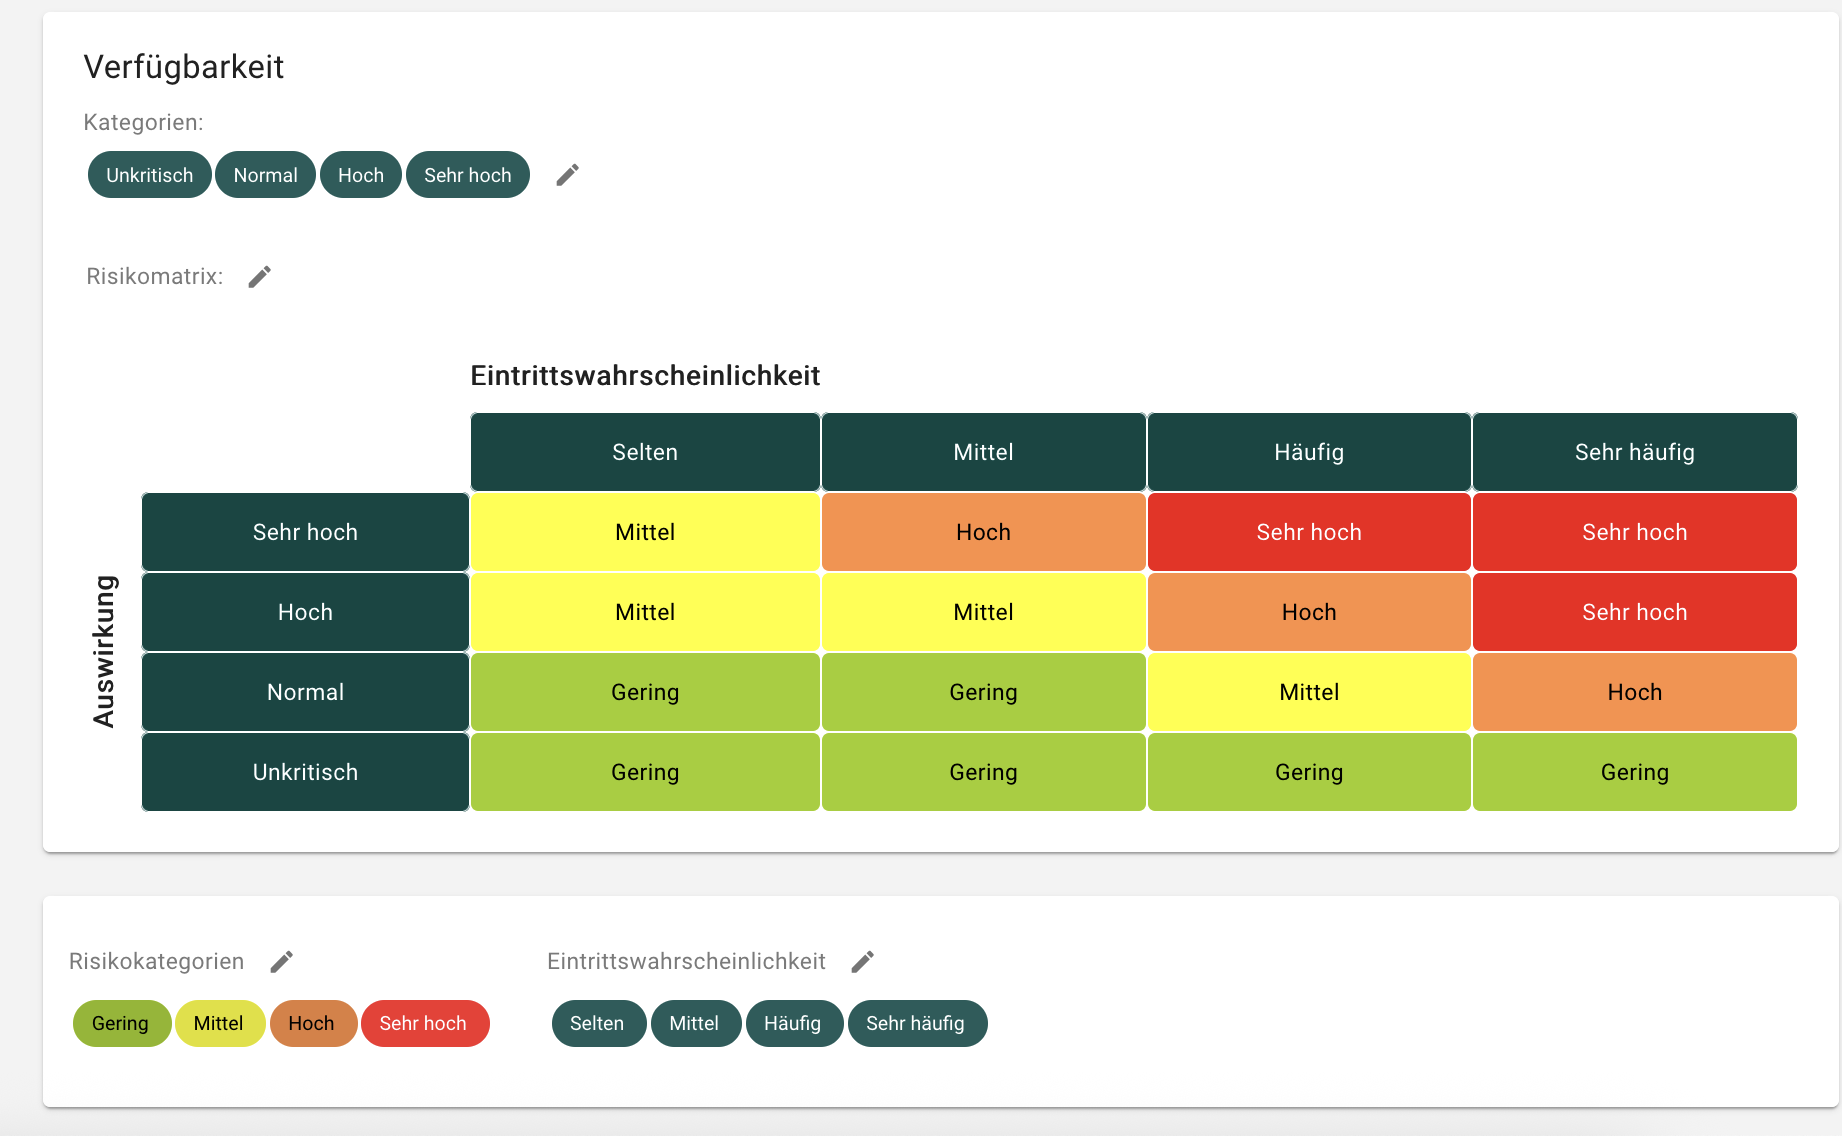
In the Risk Definition section, the parameters for the risk matrix are defined. To do this, navigate to Risk Definitions in the menu and then to ISORA. Here you can modify the name, definition, and color of the parameters for impact, likelihood, and risk category by clicking the pencil icon.
Risk Analysis
It is possible to perform a risk analysis for all scope, asset, and process objects. To do so, proceed as follows:
- For the relevant object (e.g., assets), select the Risks tab in the object view.
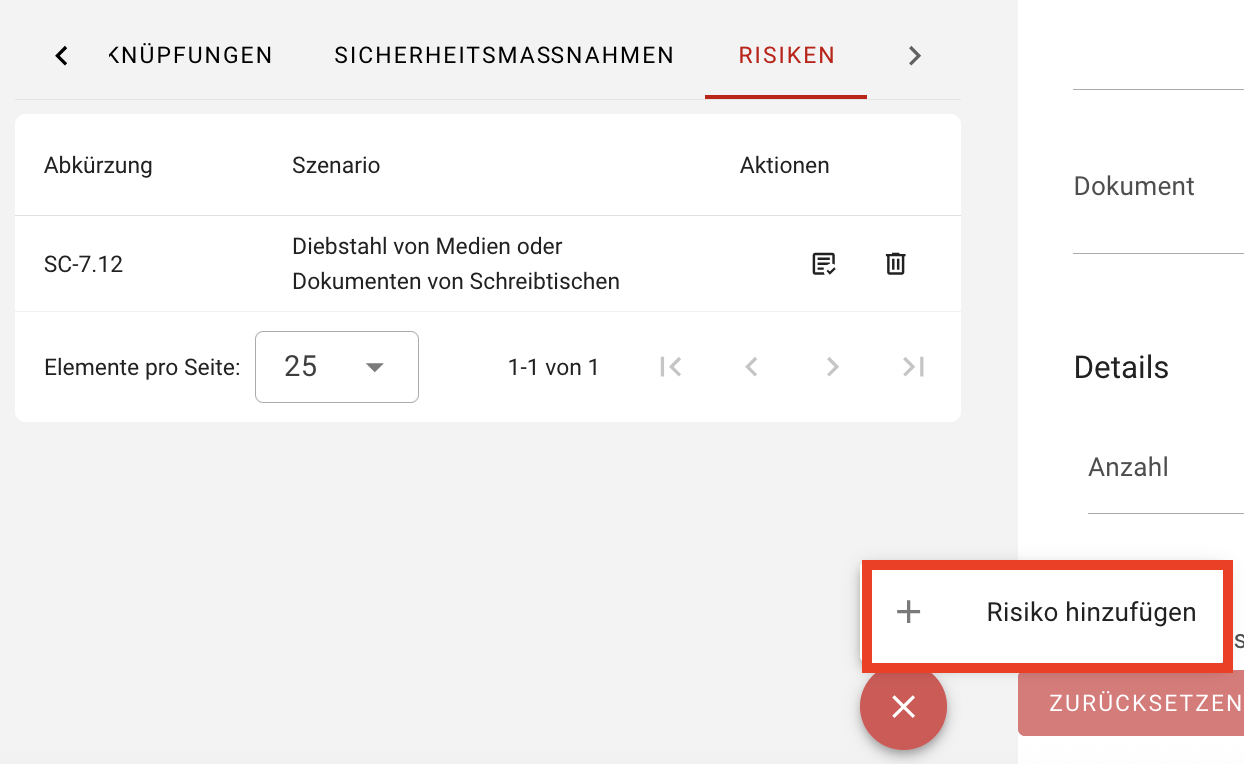
- Use the red plus icon to add a risk for your asset.
- Choose an appropriate scenario.
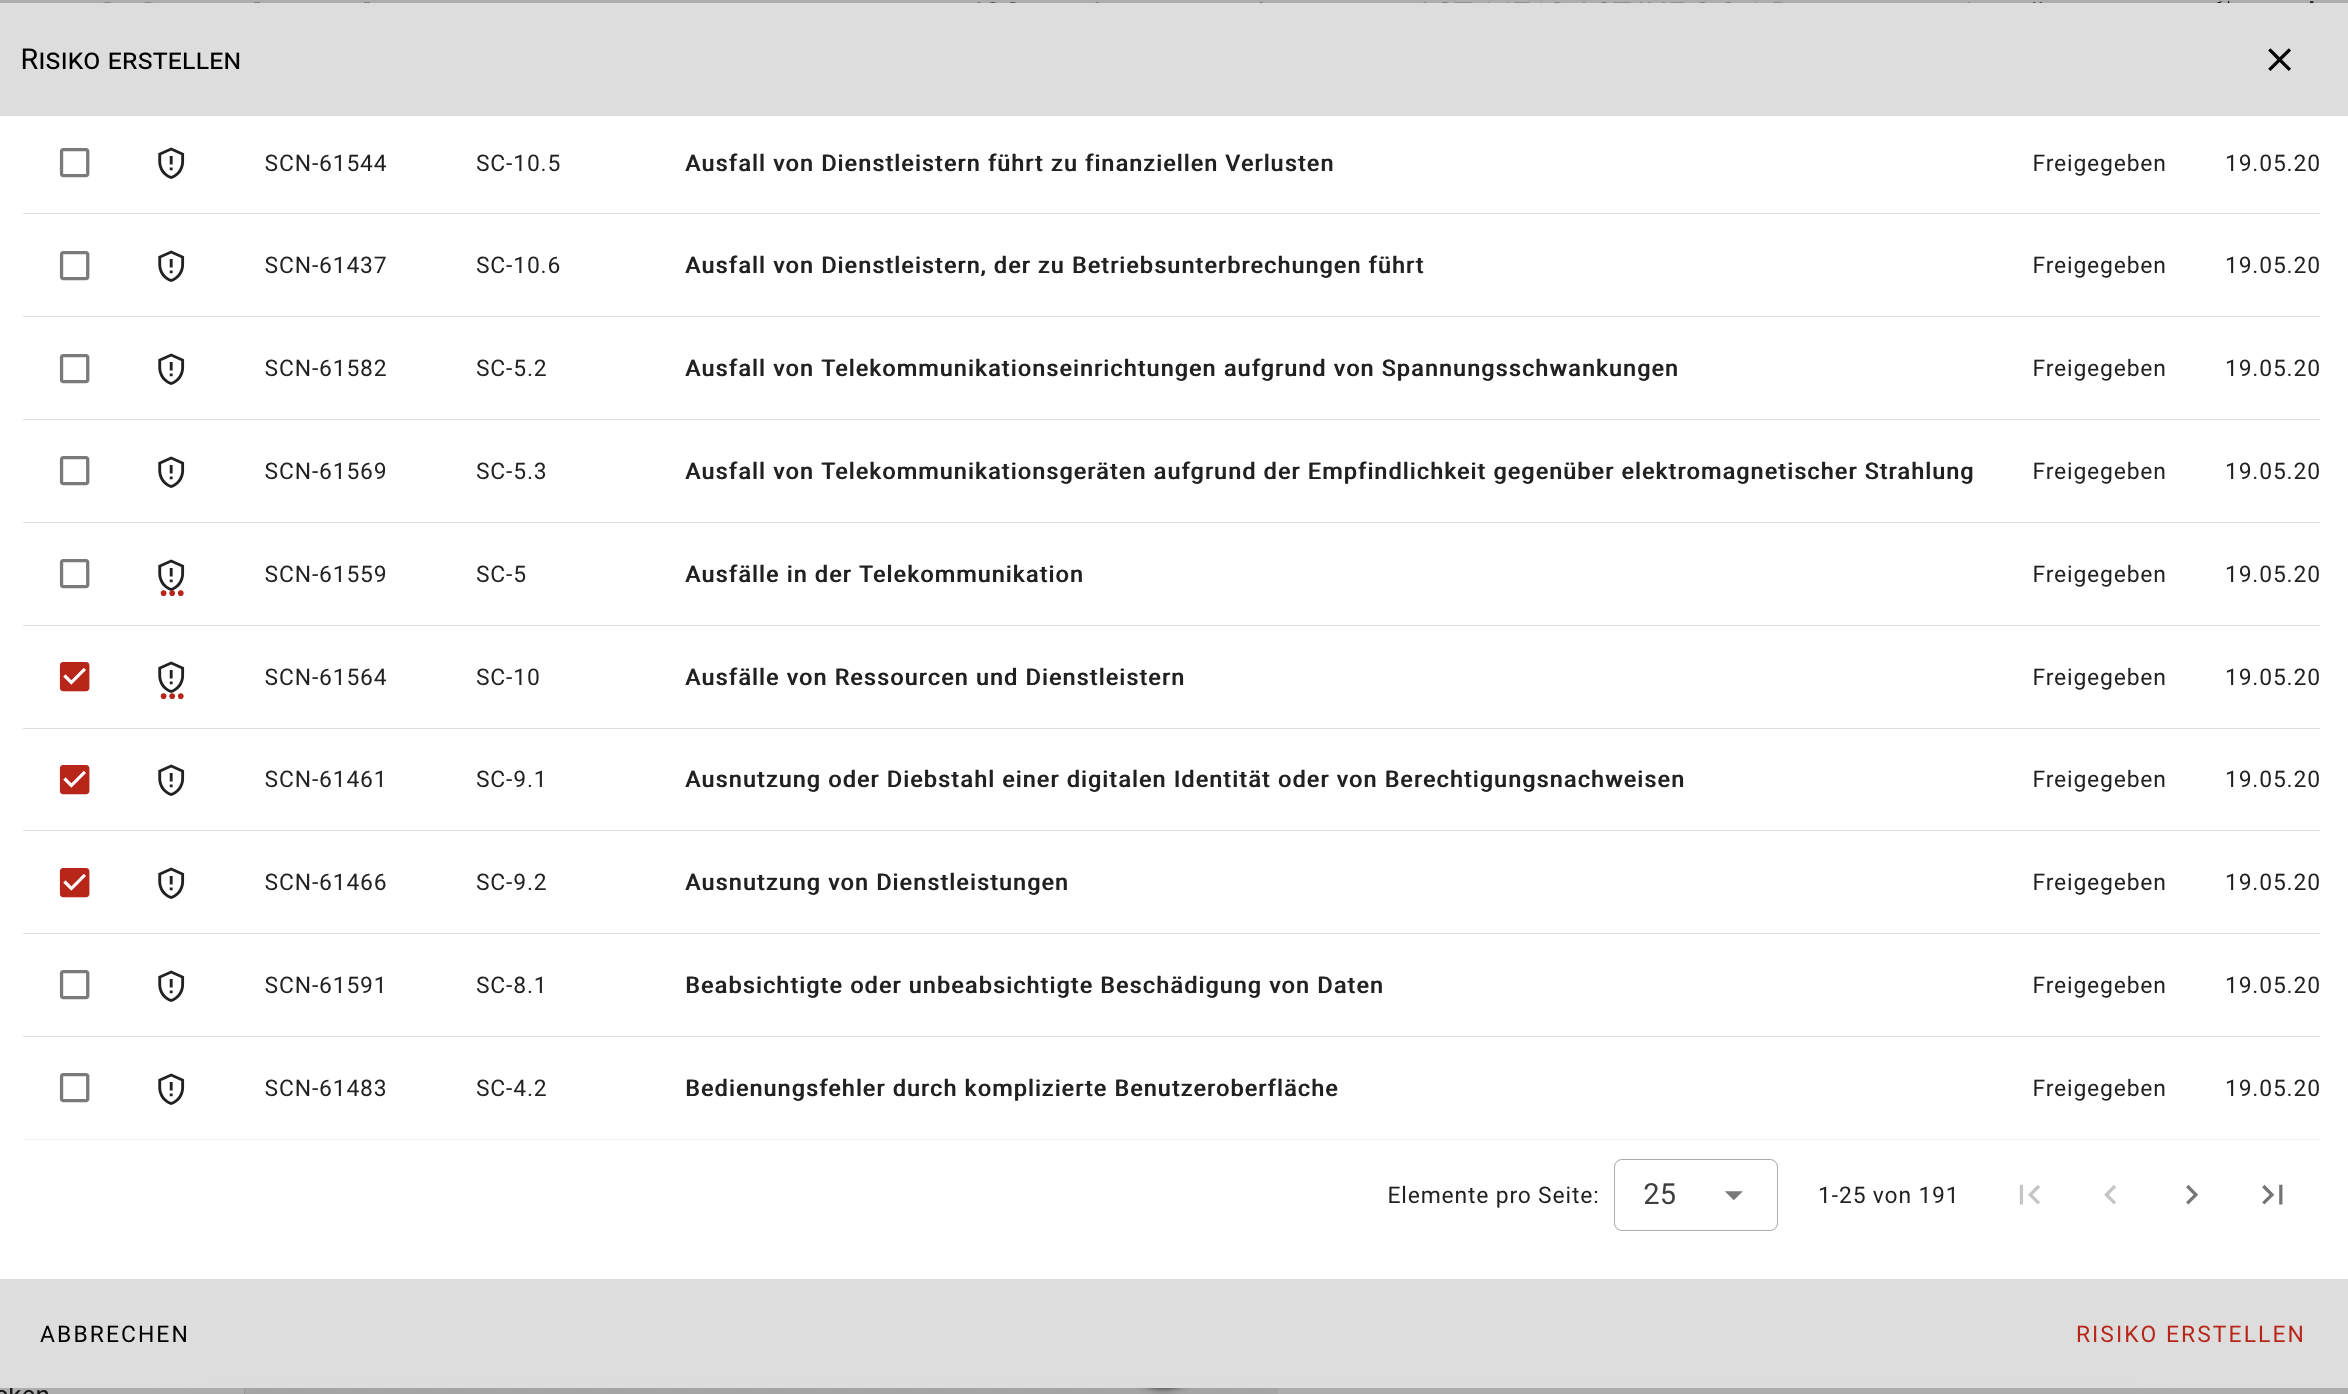
The listed scenarios come from the catalog that was manually applied to your Unit. You can also create your own individual scenarios as objects using the Scenarios form, to use them in your risk analysis.
Risk Evaluation
To edit a single risk, click on the respective risk. In the Risk Dialog that opens, you can perform a specific risk assessment. Evaluate the following parameters:
- Likelihood (and optionally an explanation)
- Impact per protection goal (and optionally an explanation)
After saving your entries, the inherent risk is calculated based on the risk matrix.
Risk Treatment
The following options are available for risk treatment:
- Risk Avoidance
- Risk Reduction
- Risk Transfer
- Risk Acceptance
Each is provided with a text field for additional explanation.
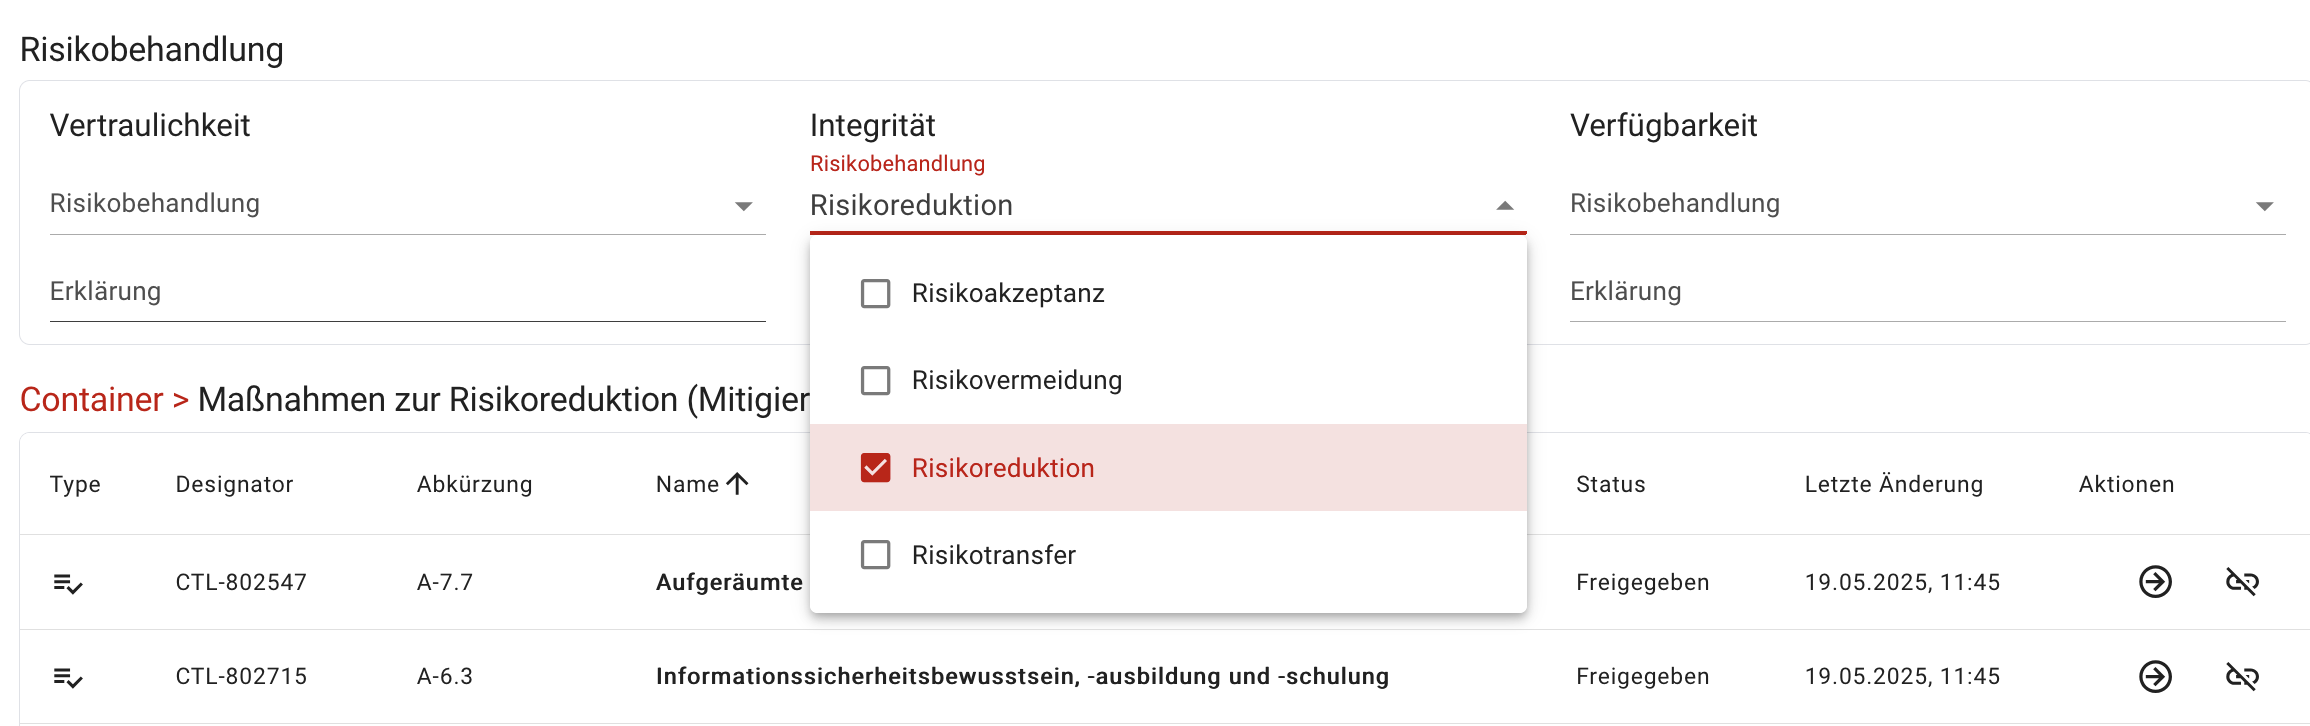
If Risk Reduction is selected, the risk can be reduced by adding Mitigating Controls.
verinice offers two ways to document Mitigating Controls:
Create a Mitigating Control
To create a new control, click Add Mitigating Controls and then Create Mitigating Control. A dialog opens to enter data for the new control. After saving the control, it will appear in the previous Risk Dialog under Controls for Risk Reduction.
Link a Mitigating Control
You can also add Mitigating Controls by linking to existing controls. These existing security controls may come from the catalog (by applying relevant measures) or be custom-defined controls created using the Security Controls form.
Using the Add Mitigating Controls function and then Link Mitigating Controls, you can choose from previously documented controls for mitigation. Once saved, the selected controls will be listed in the Controls for Risk Reduction section.
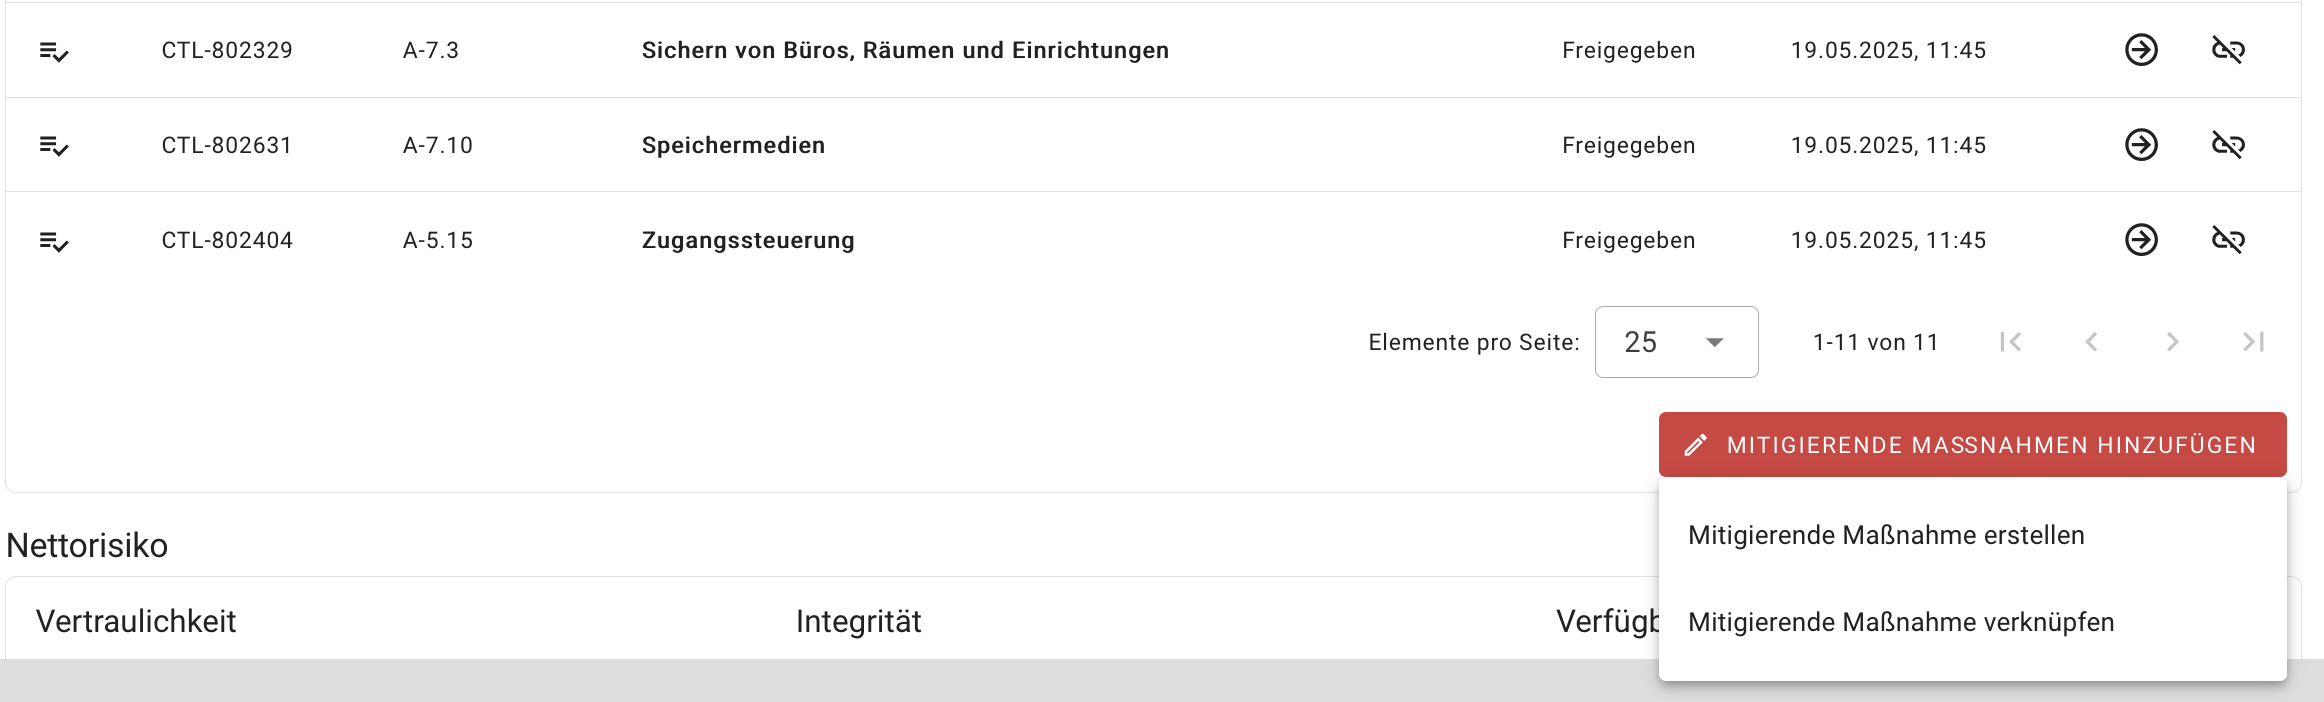
Finally, the net risk and a justification must be set. Please remember to save and close the Risk Dialog.
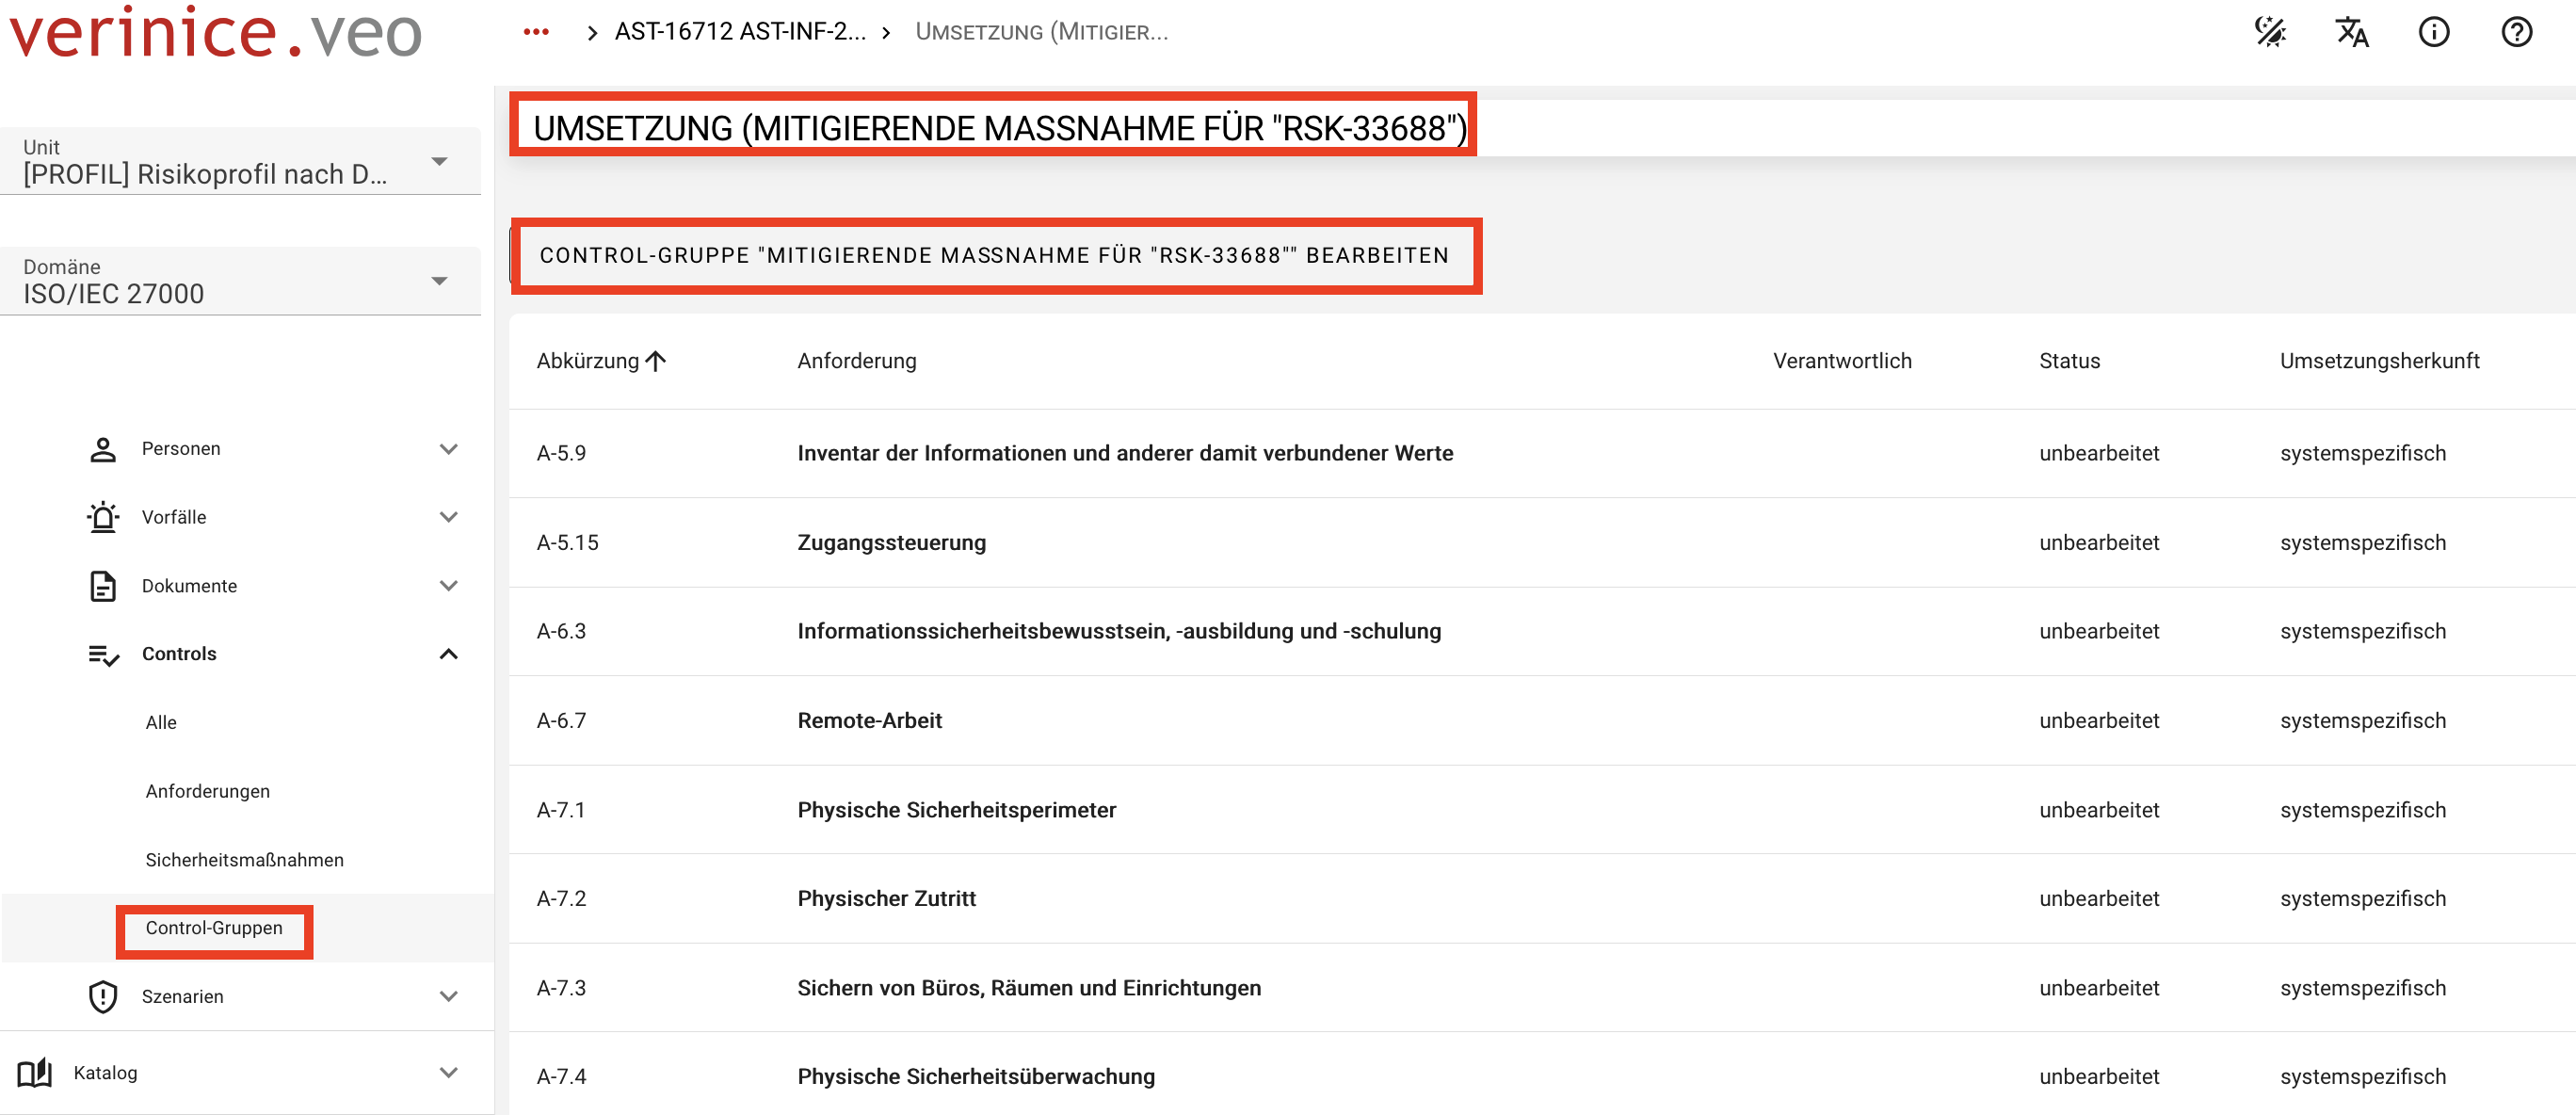
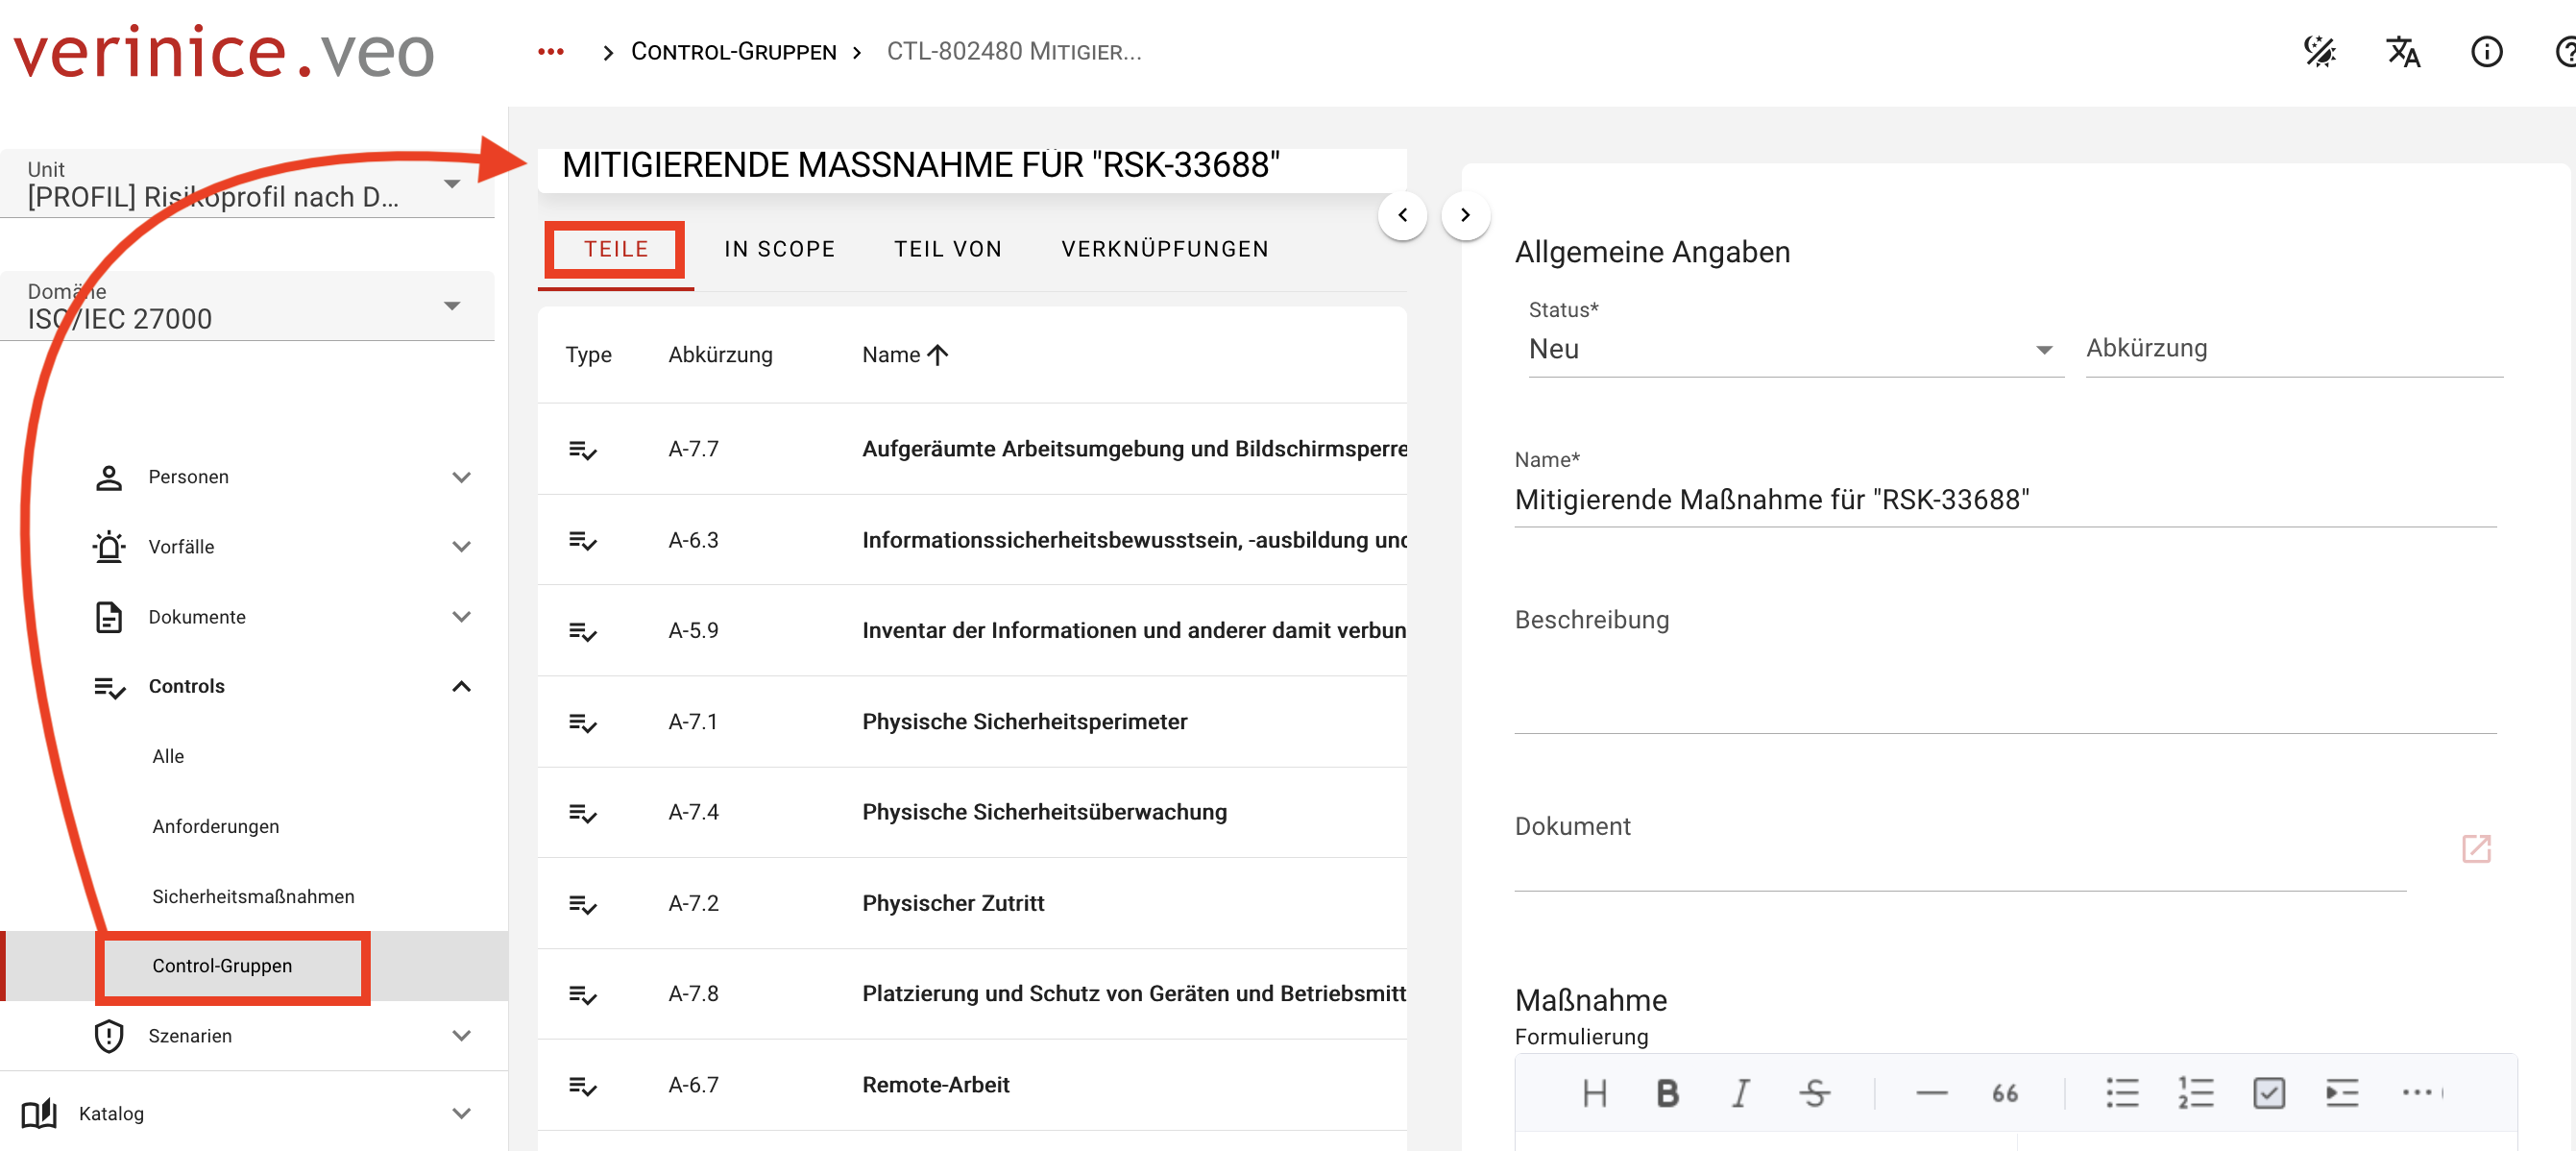
A control group is always created in the background for the controls assigned to a risk.
Editing Mitigating Controls
To edit Mitigating Controls, navigate to the Risks tab of the affected target object. All previously identified risks are listed here. Use the Show Implementation function to access an overview of all mitigating controls for the selected risk.
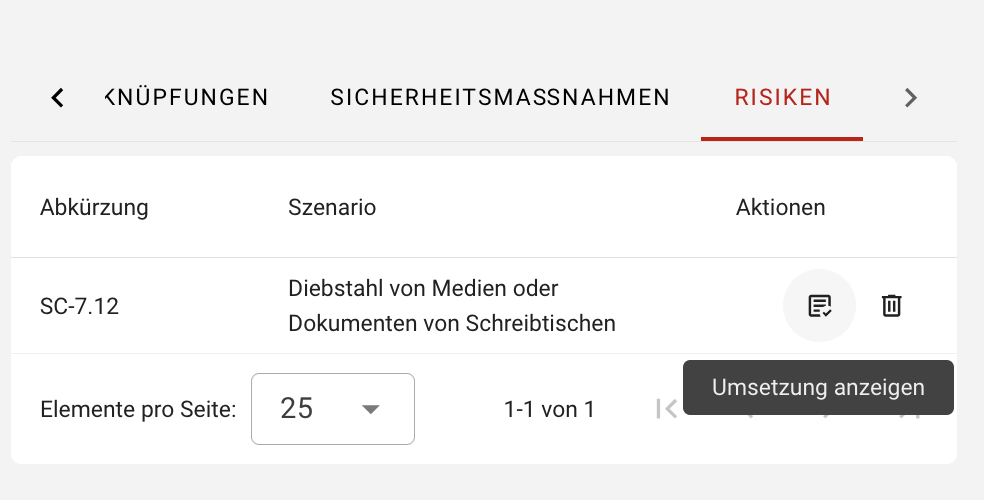
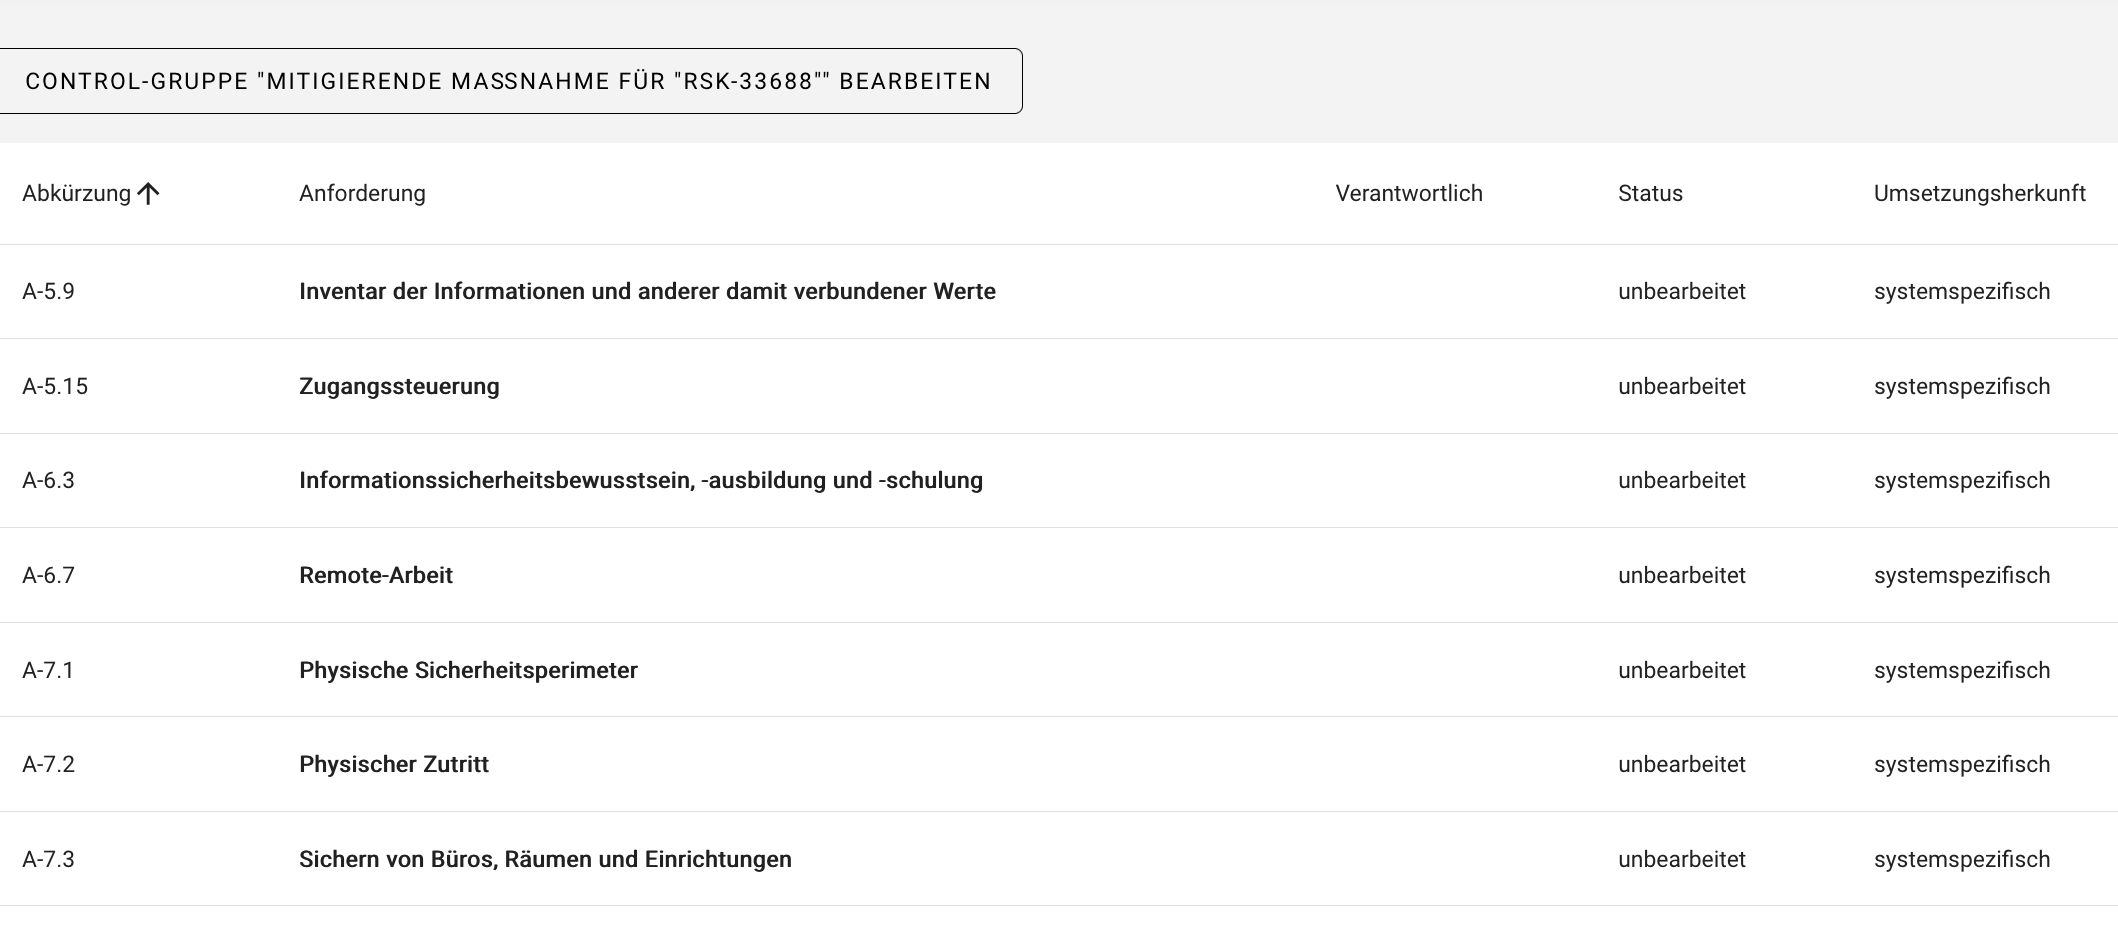
Here you can edit each individual control by clicking on it. In the implementation dialog that opens, the following information can be viewed or entered:
- Information about the target object
- Details about the security control, such as control description, control type, etc.
- Implementation information:
- Responsible person
- Implementation deadline (date)
- Implementation status (Not started, Yes, Partially, No, Not required)
- Implementation description
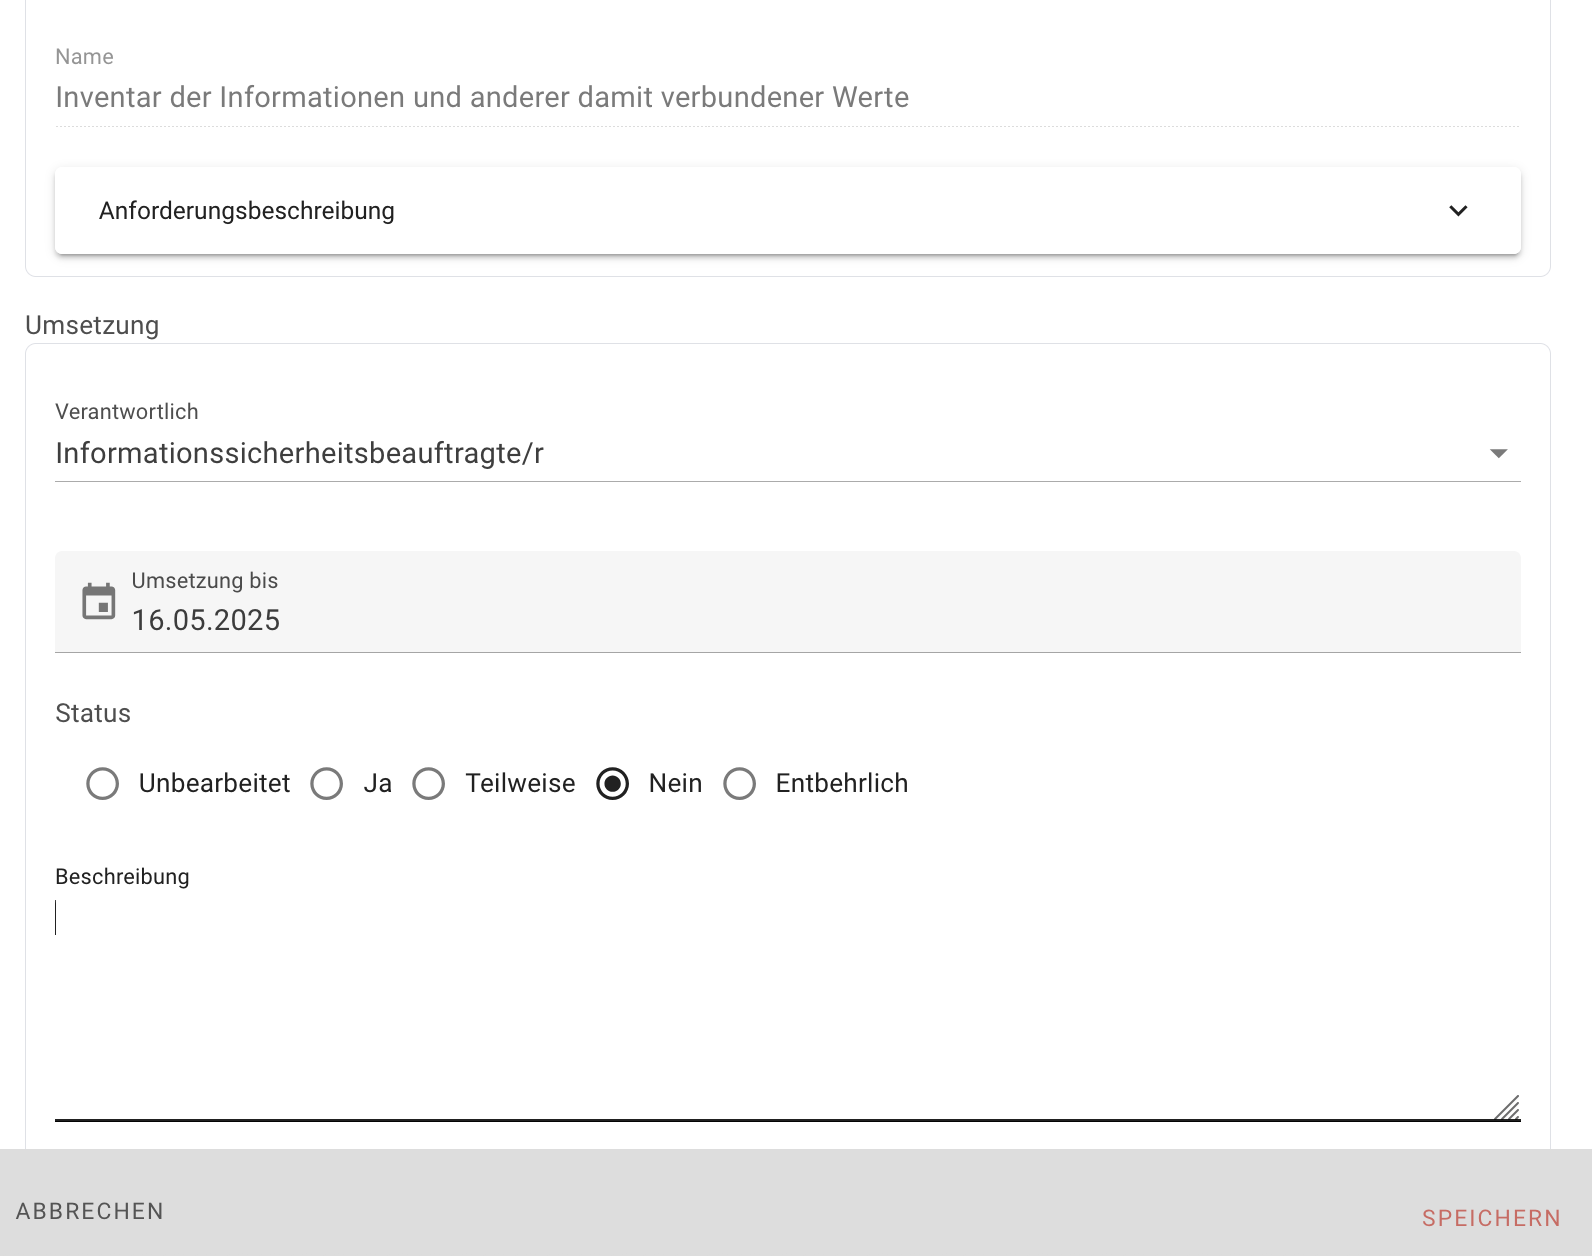
After entering the data, close the dialog with Save.